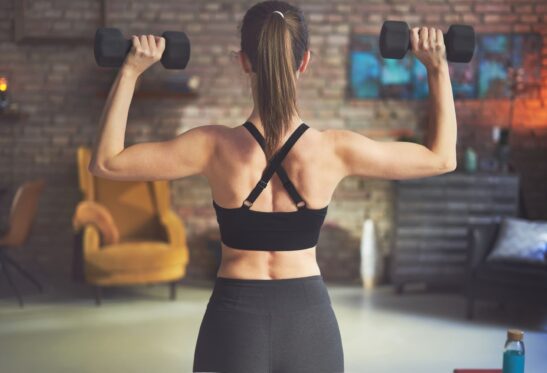
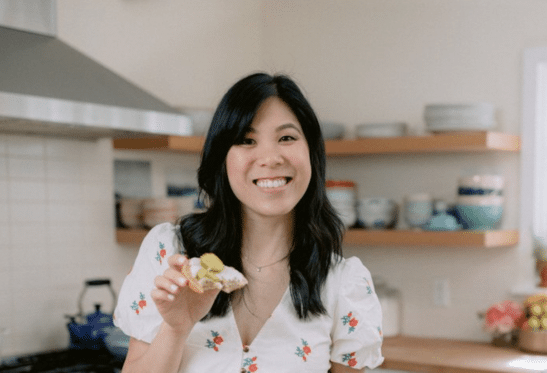
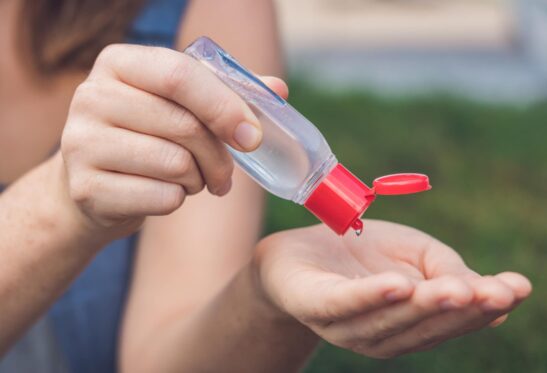
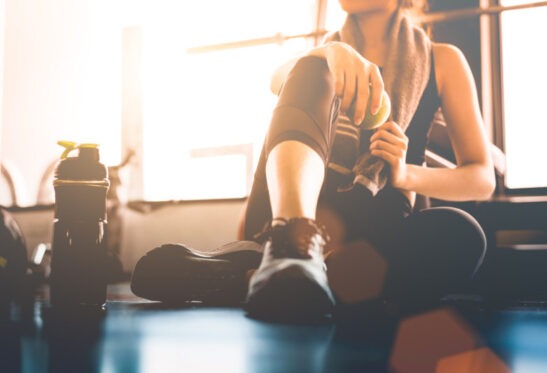
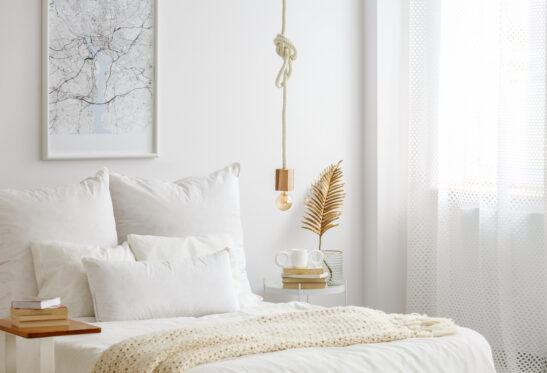
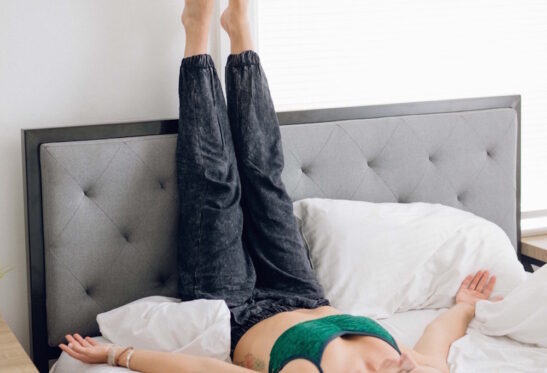
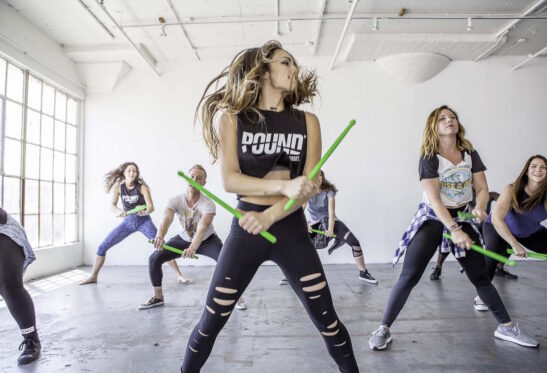
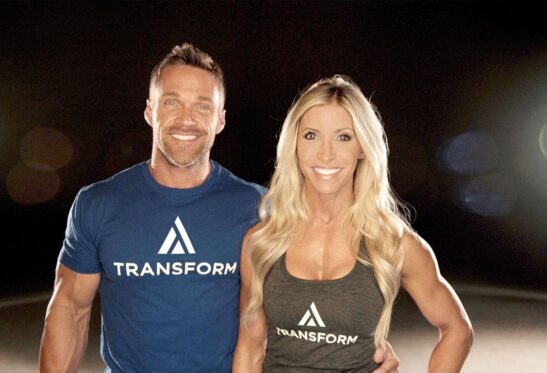
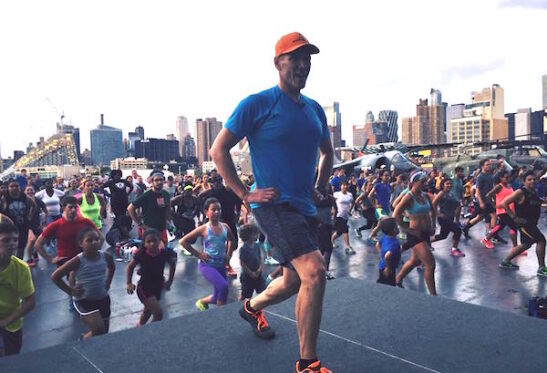
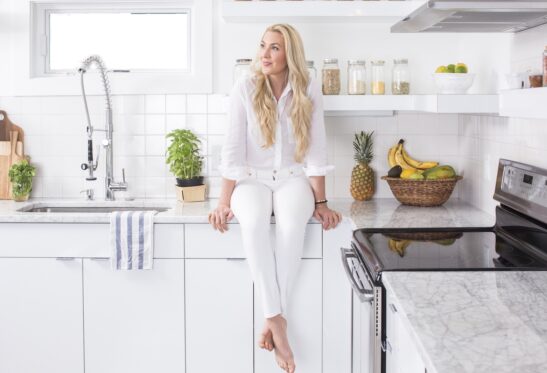
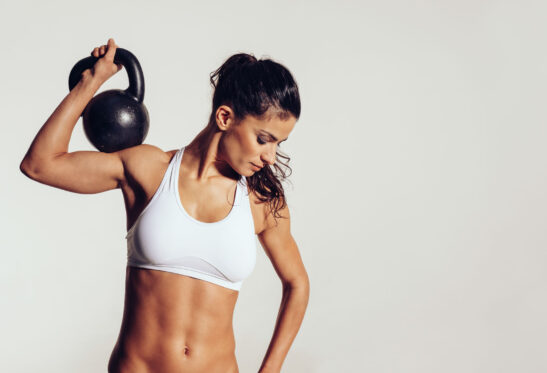
 Nurture Yourself
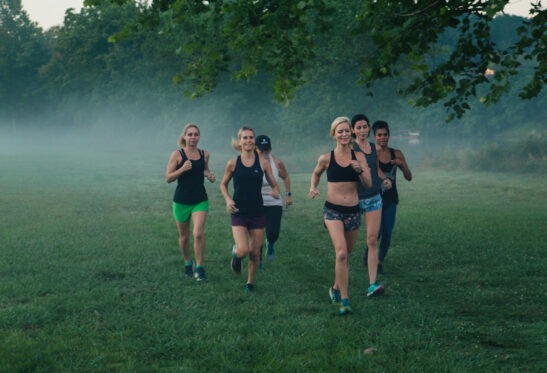
 Sweat Often
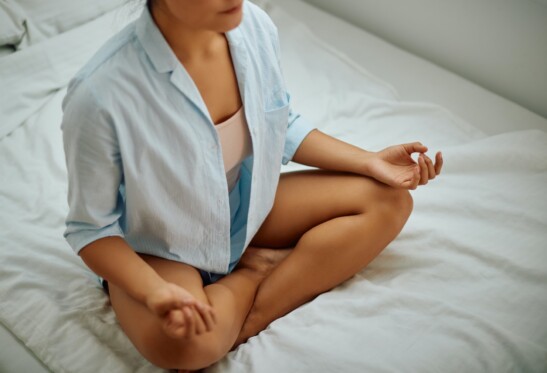
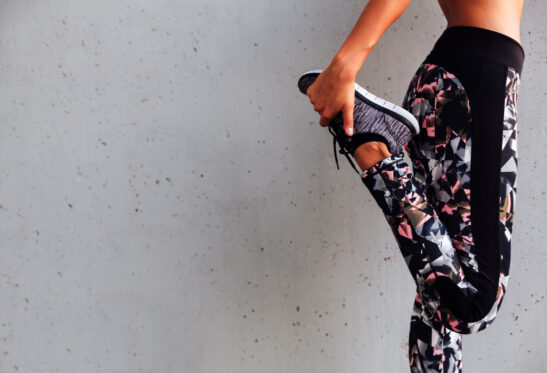
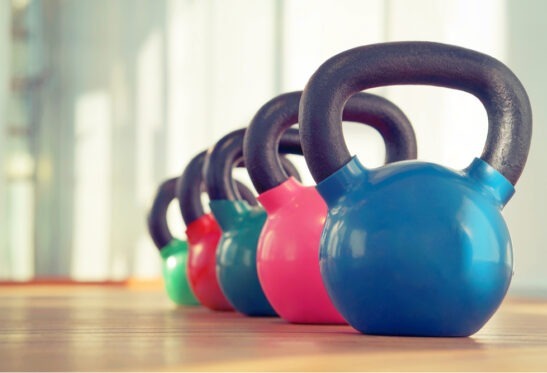
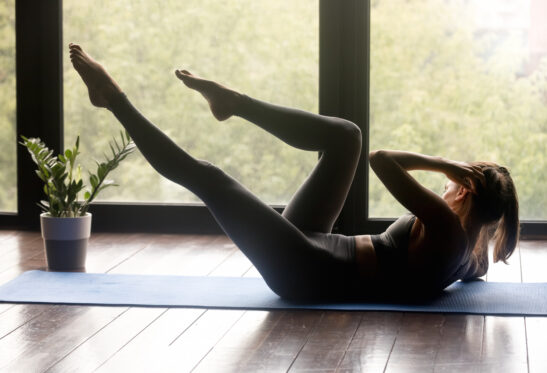
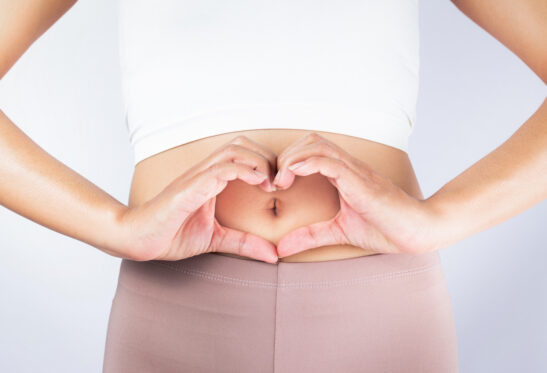
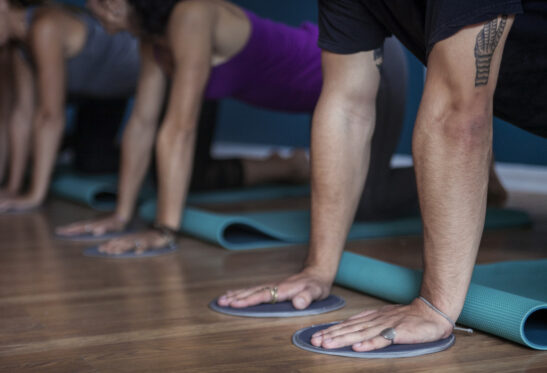
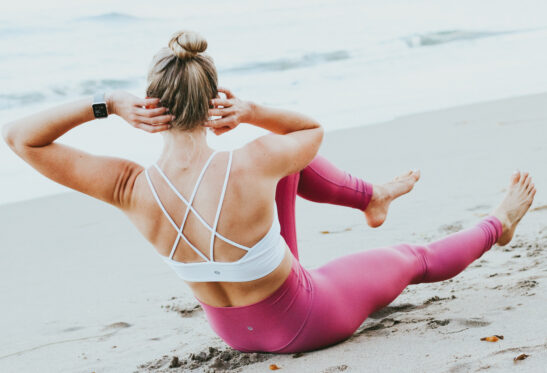
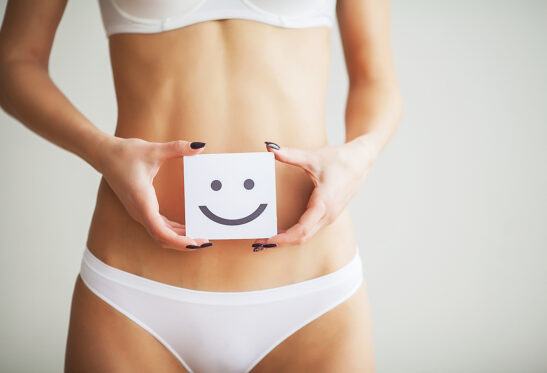
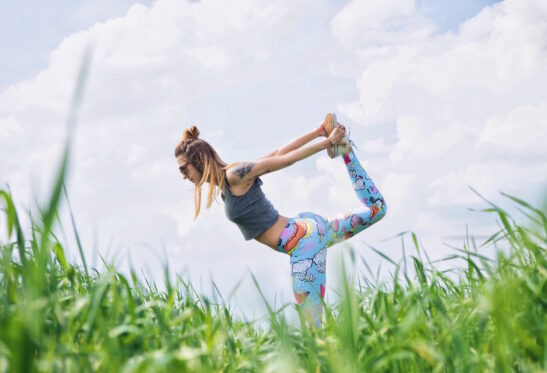
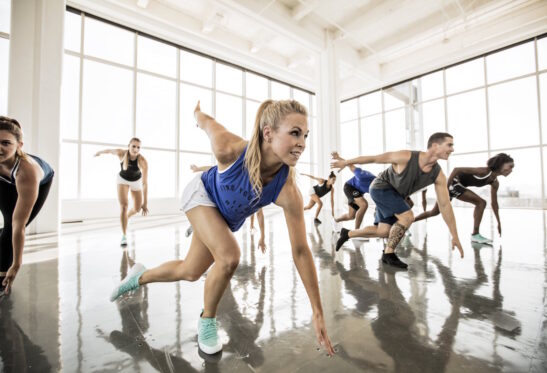
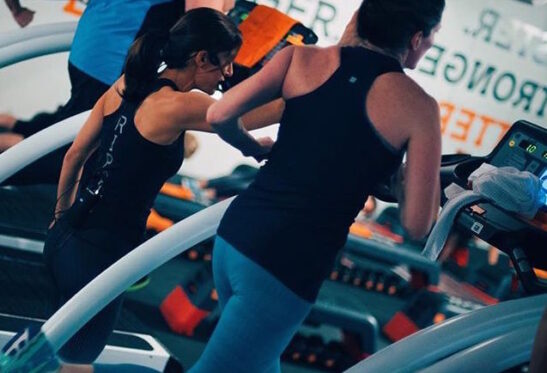
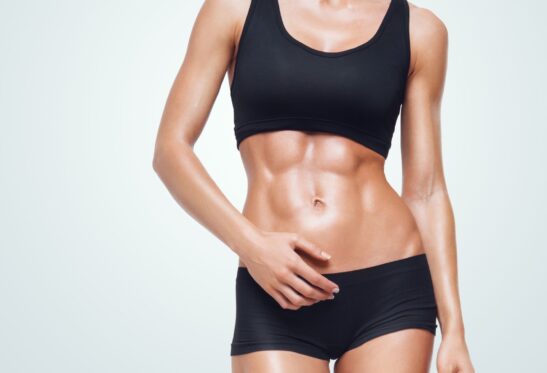
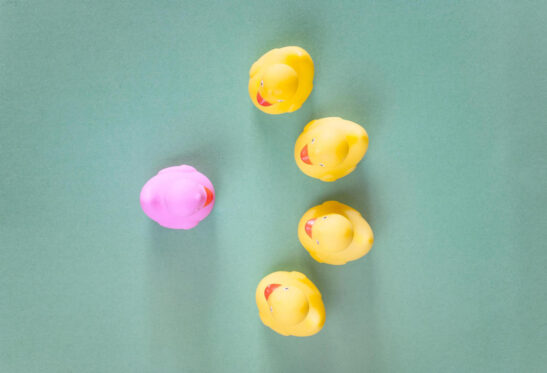
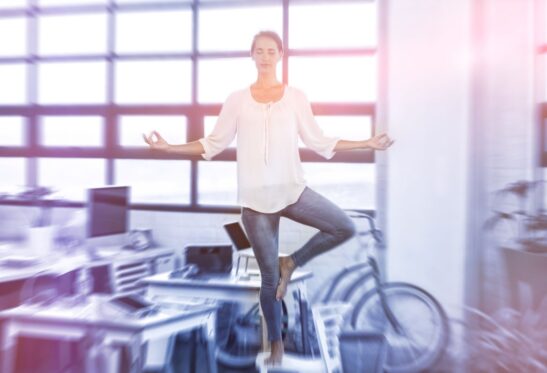
Home » Sweat Often » De-Fluff Your Puff: 5 Exercises to Reduce Bloating
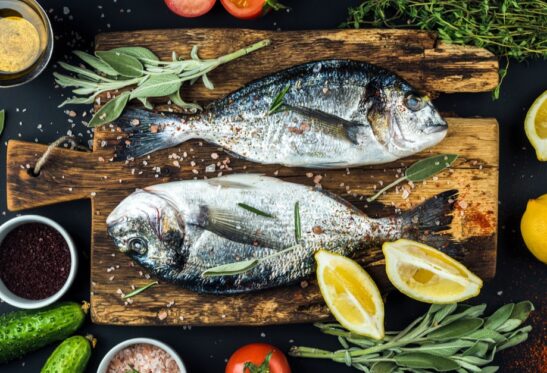
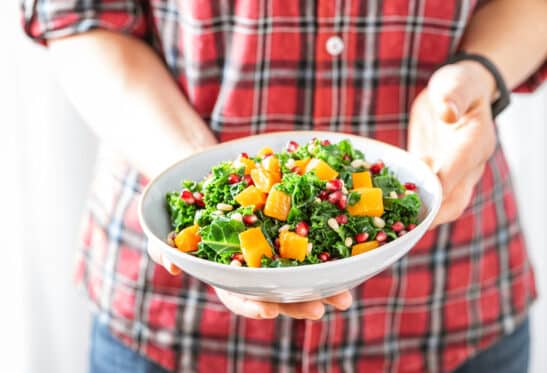
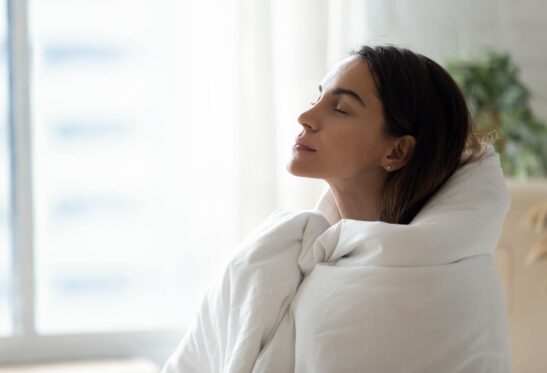
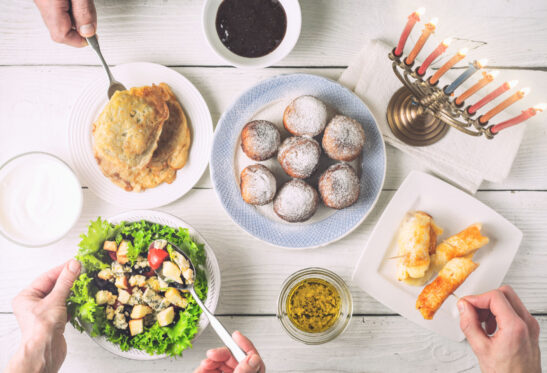
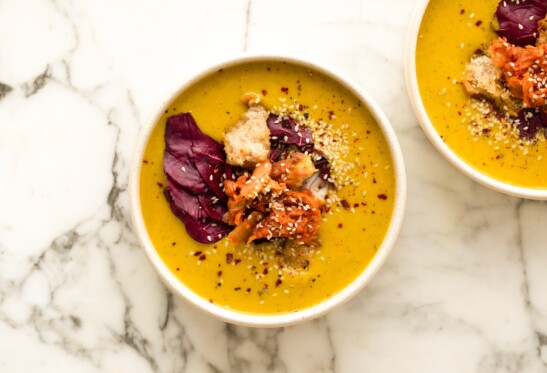
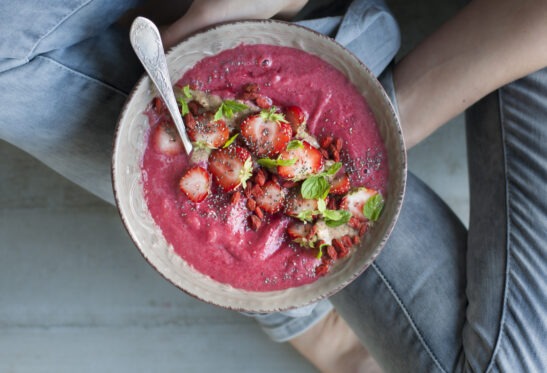
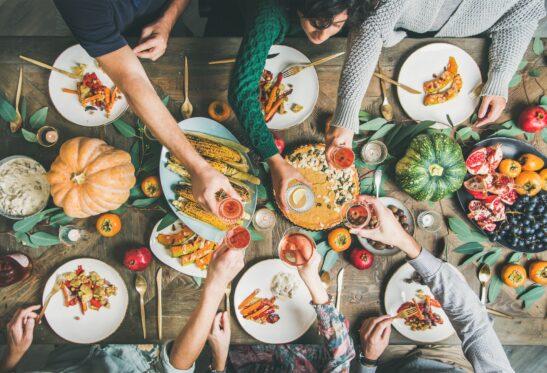
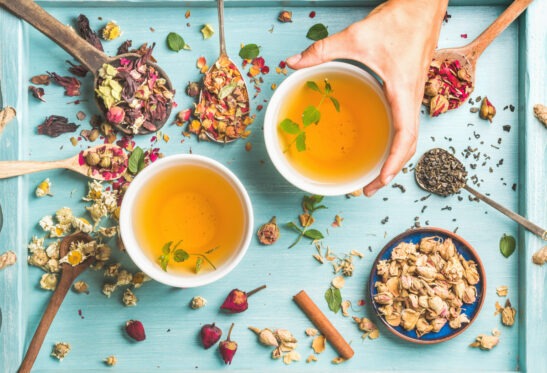
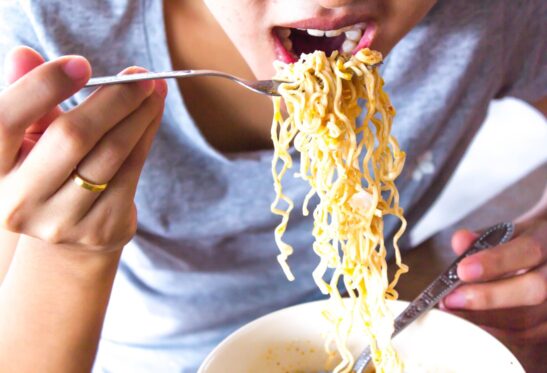
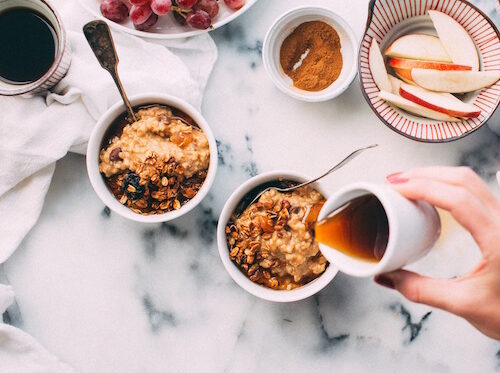
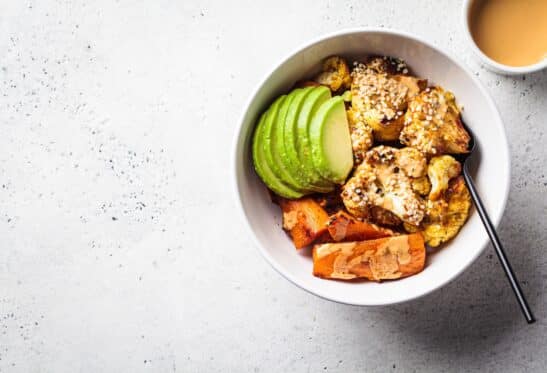
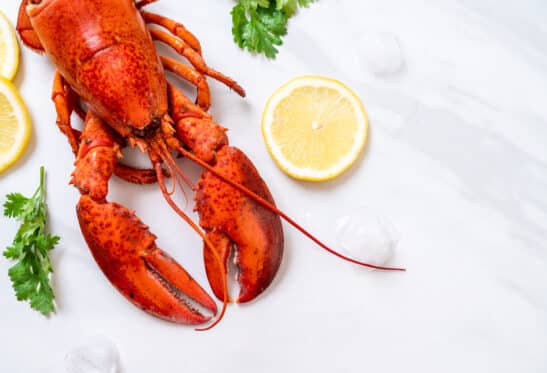
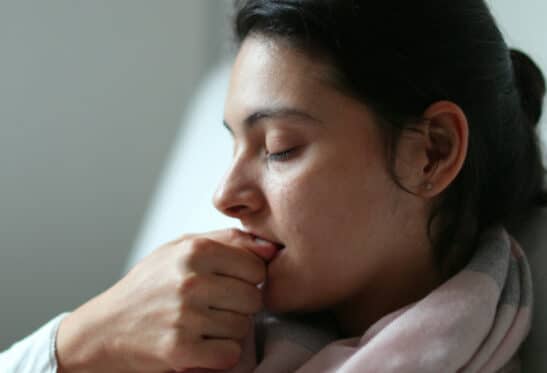
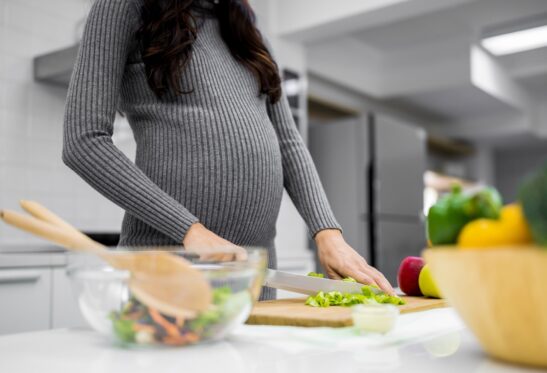
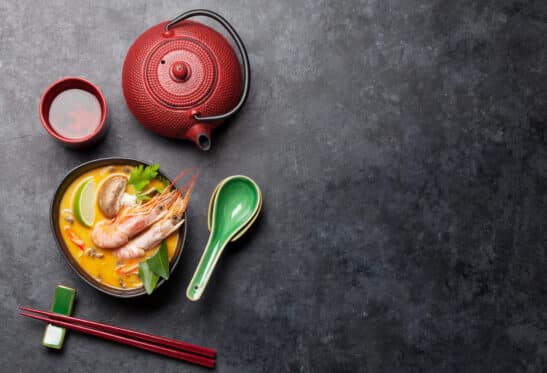
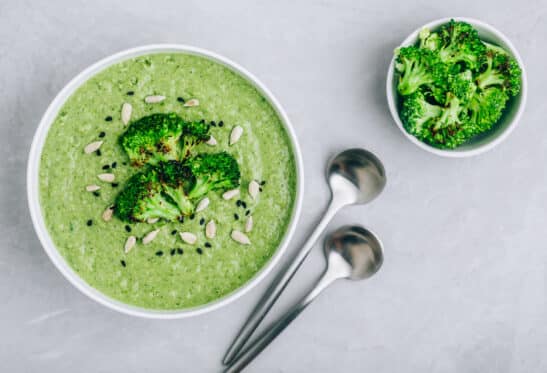
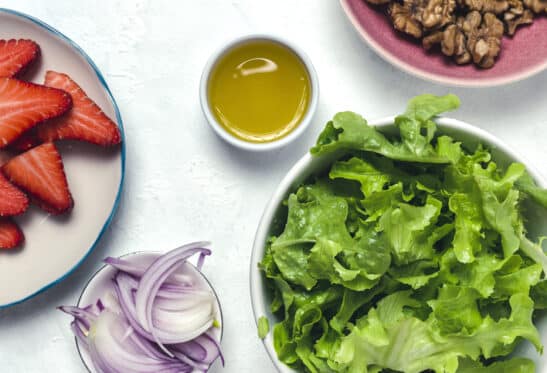
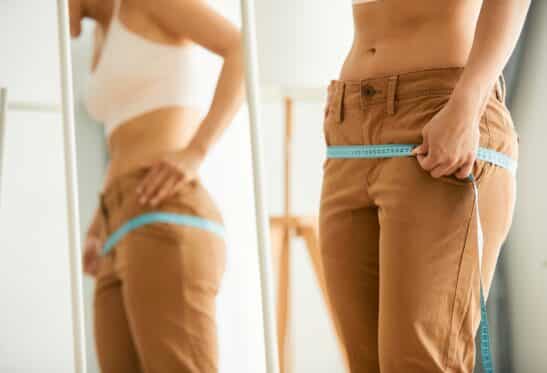
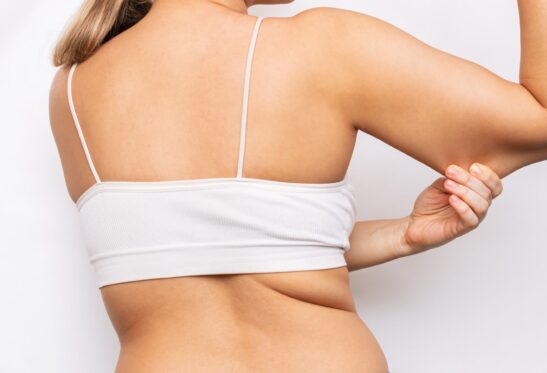
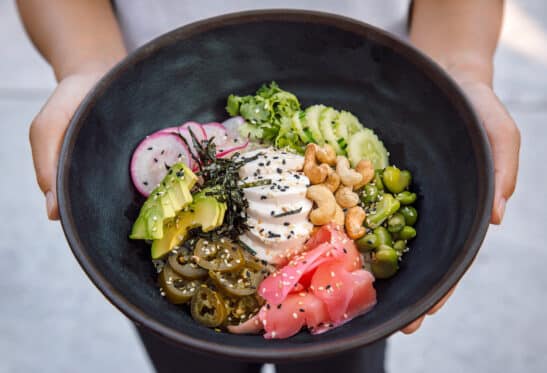
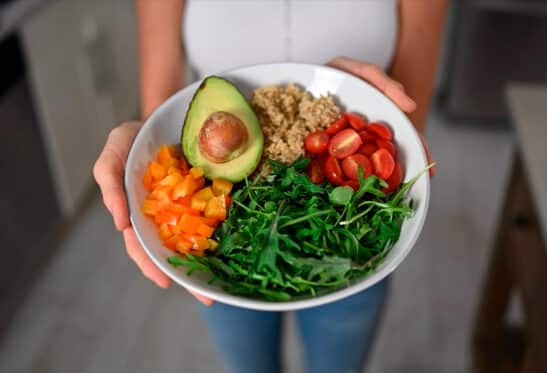
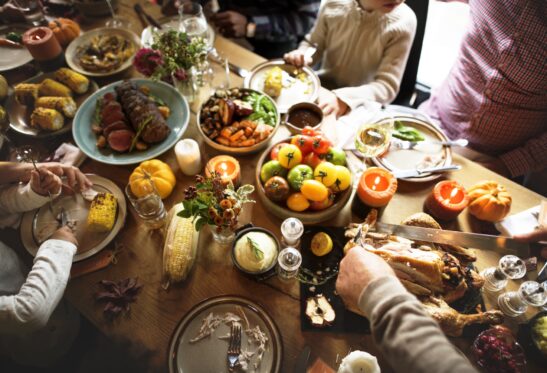
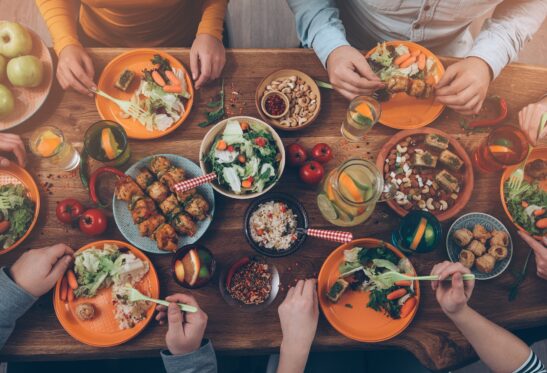
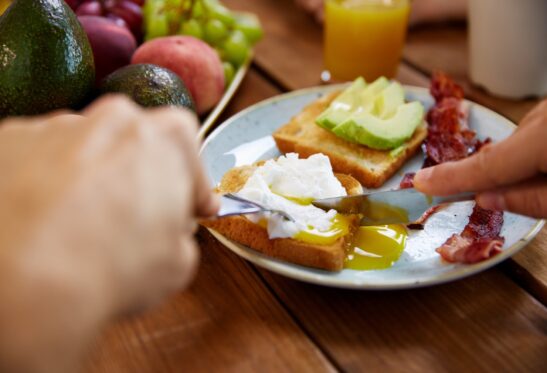
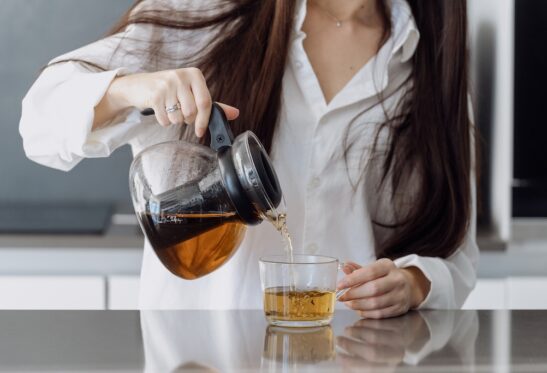
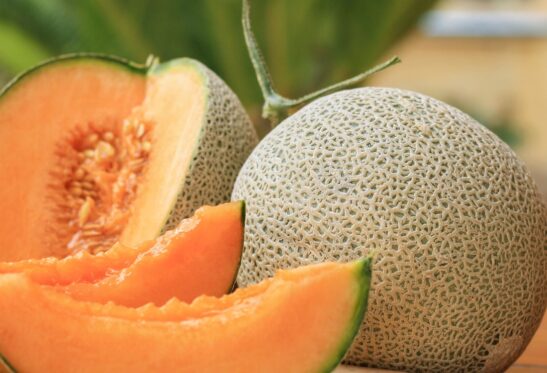
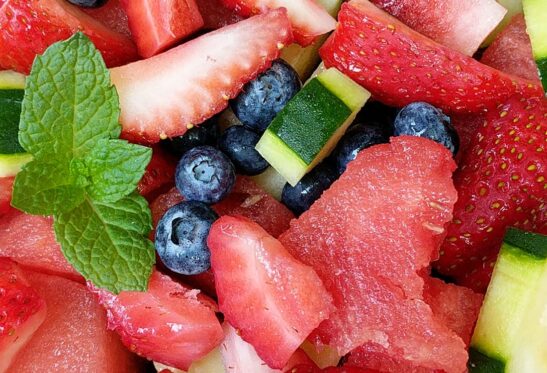
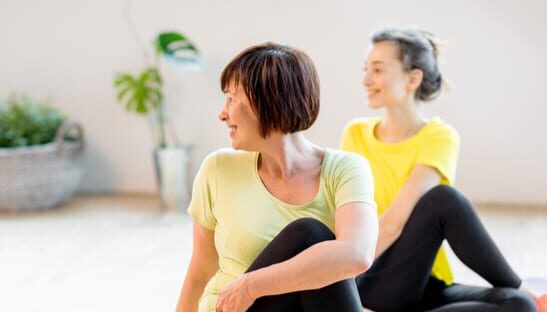
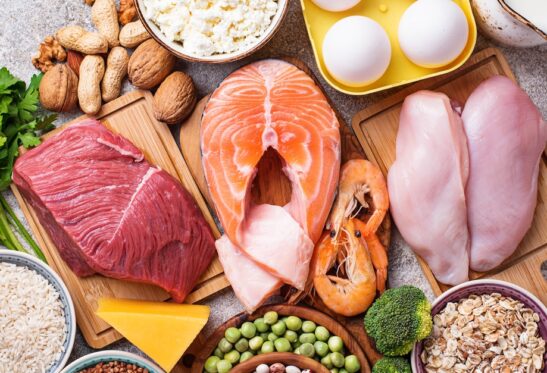
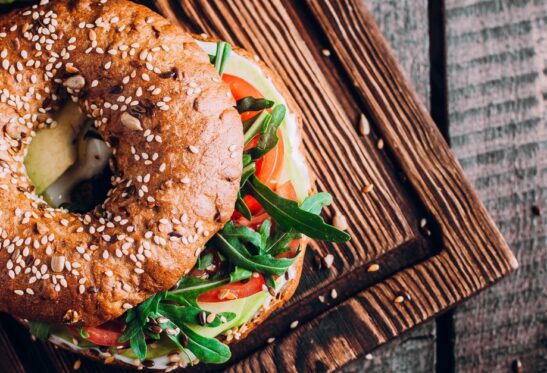
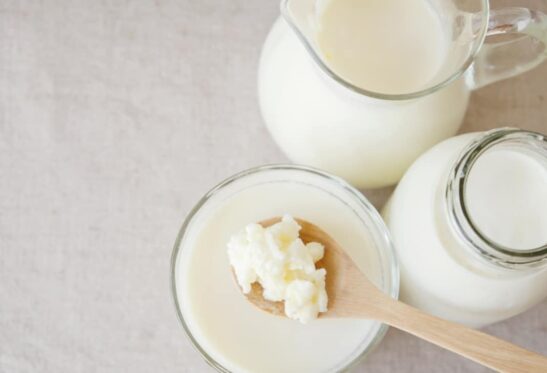
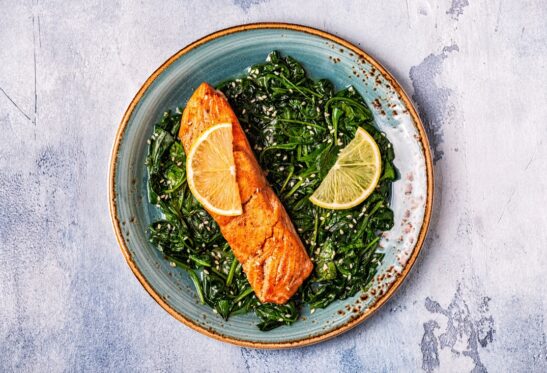
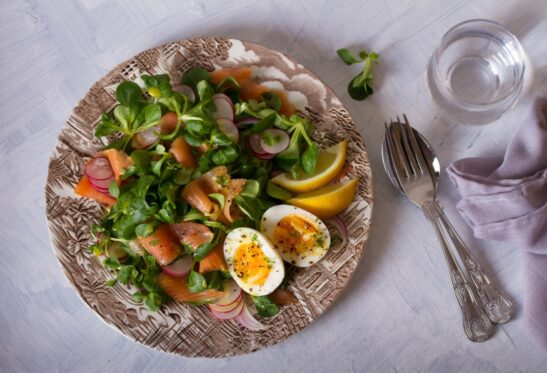
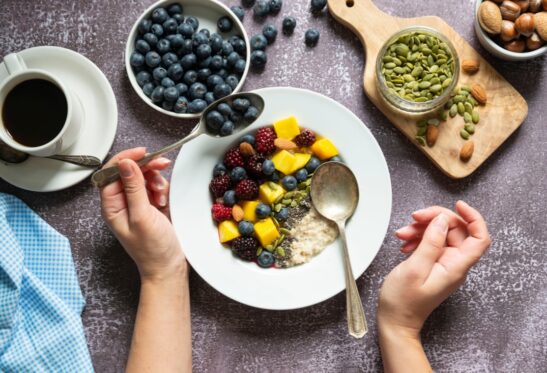
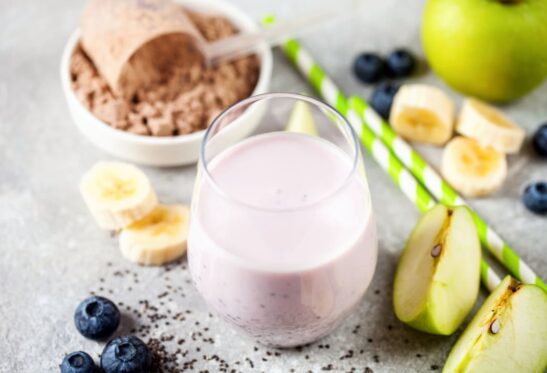
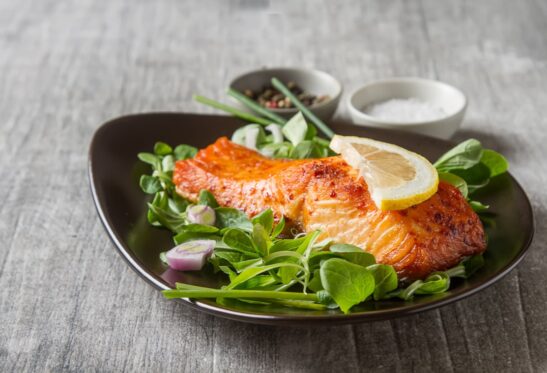
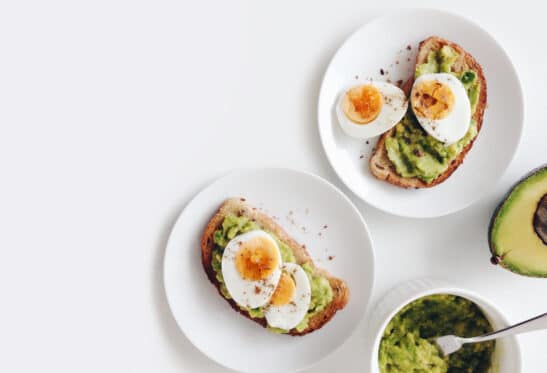
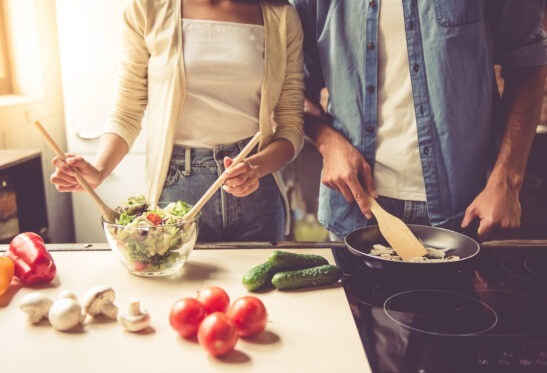
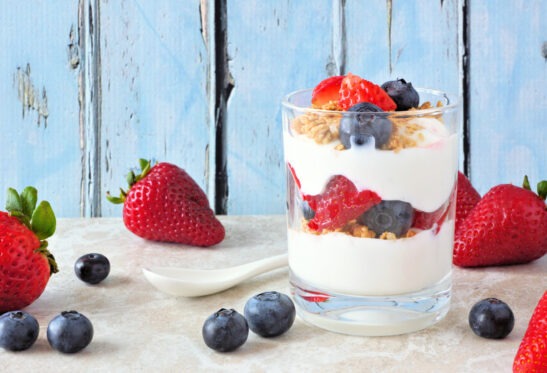
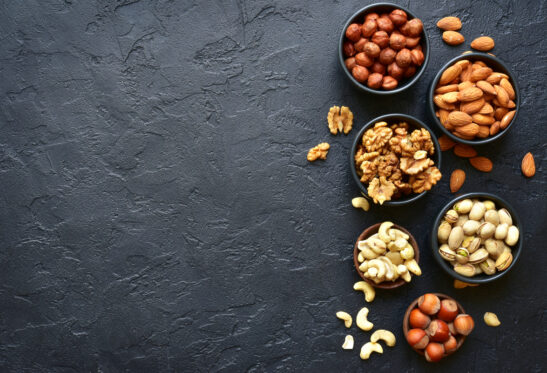
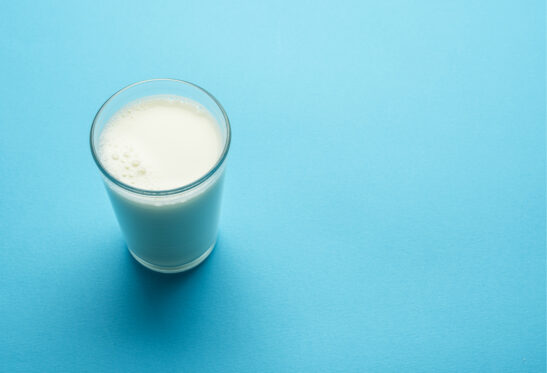
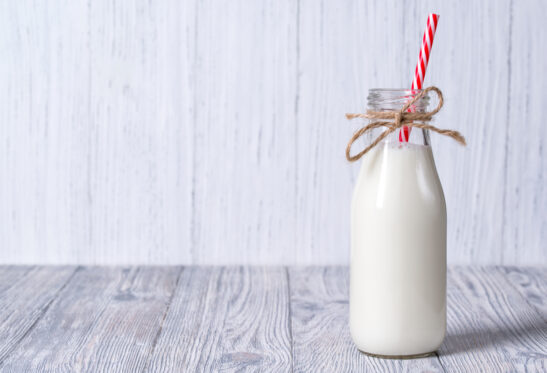
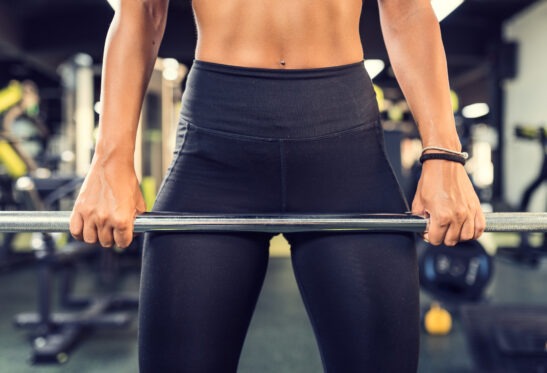
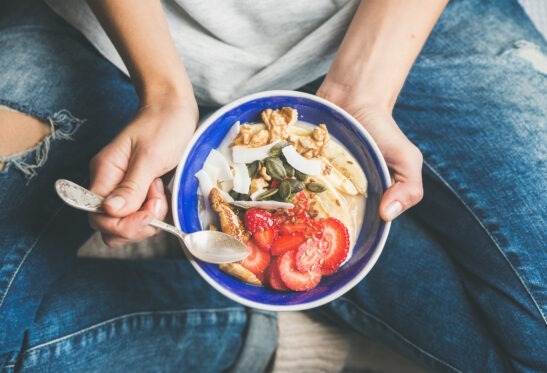
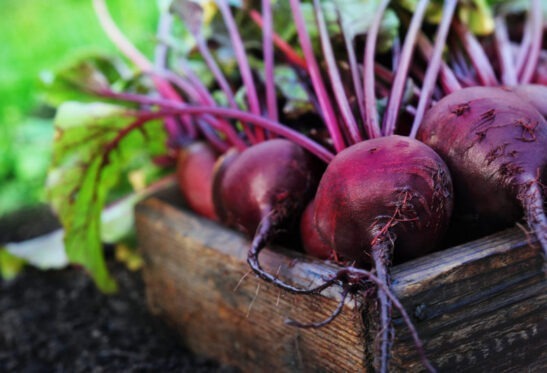
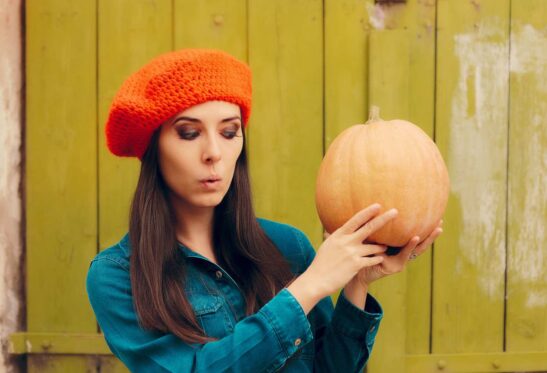
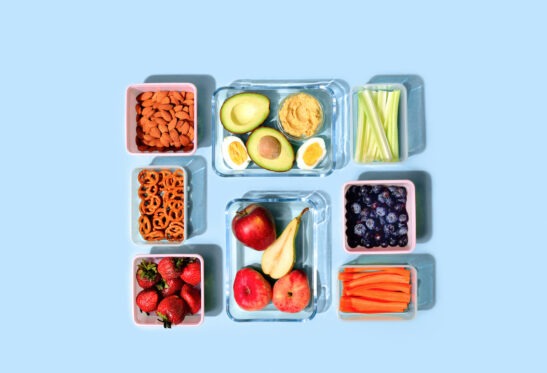
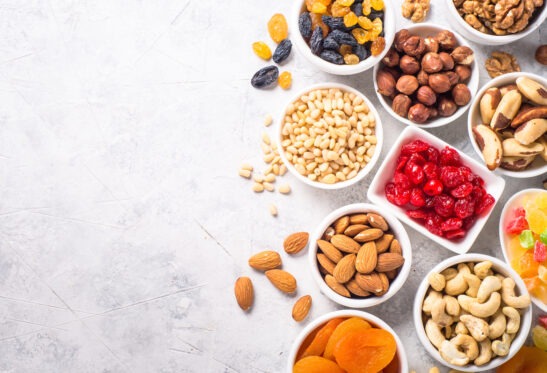
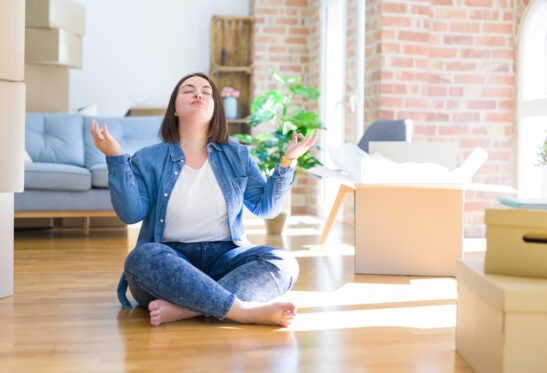
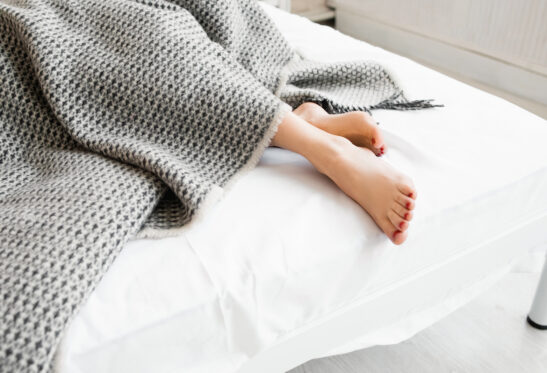
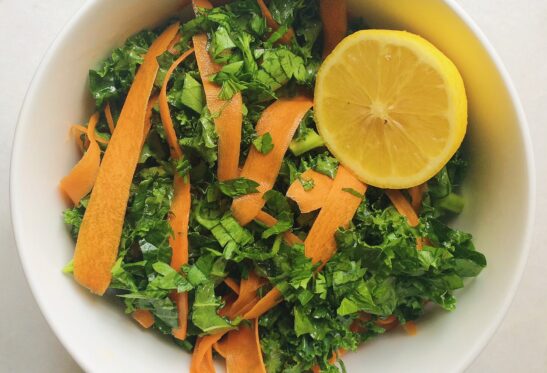
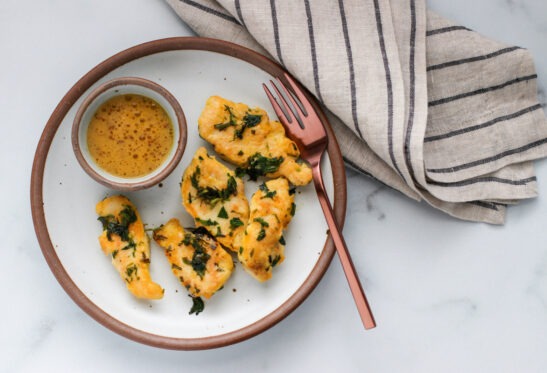
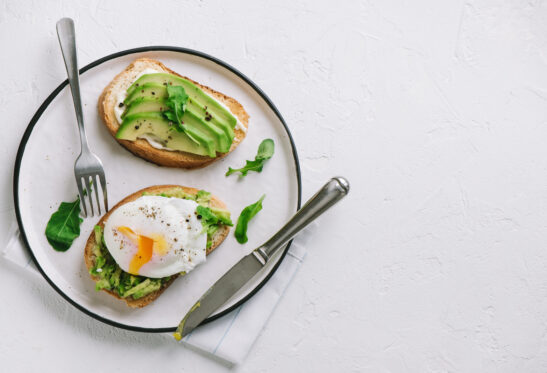
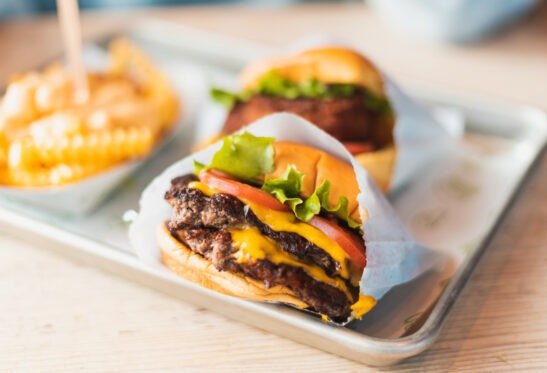
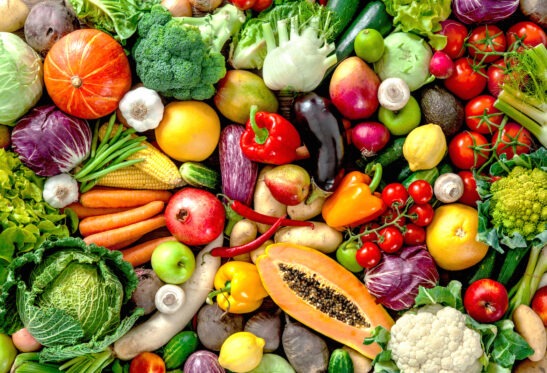
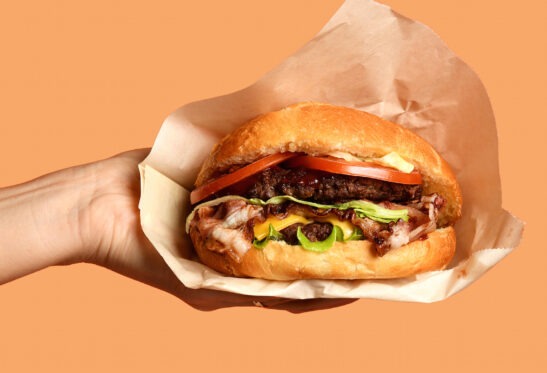
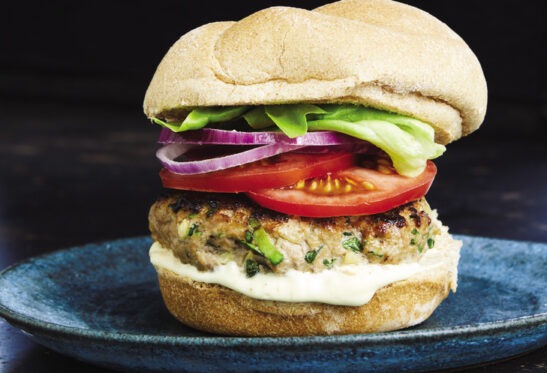
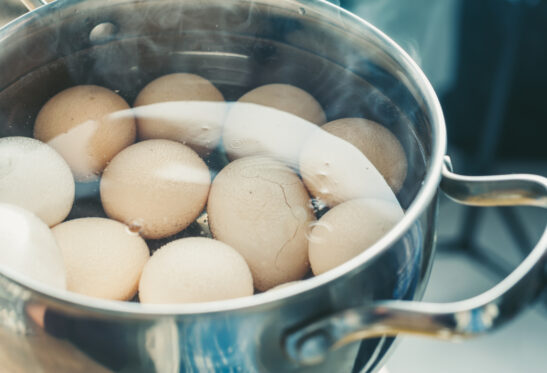
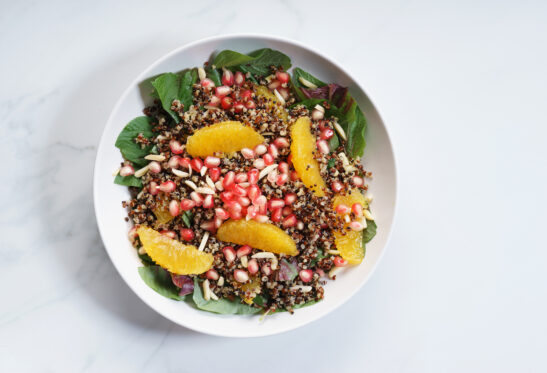
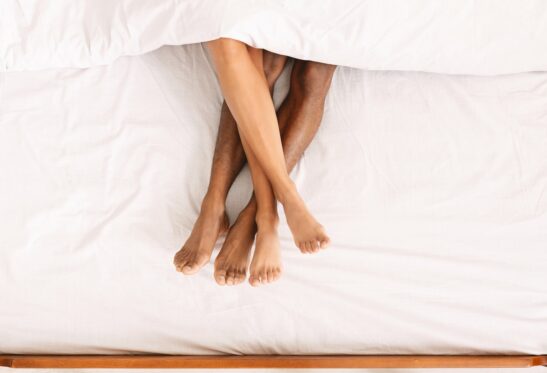
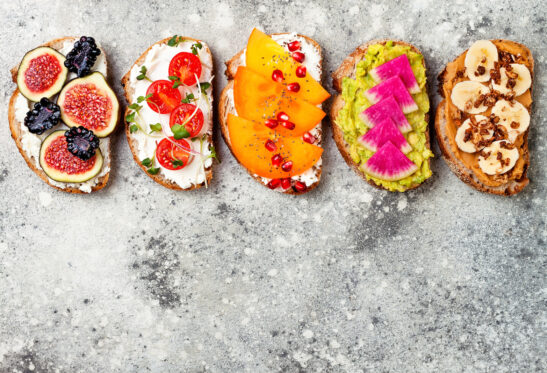
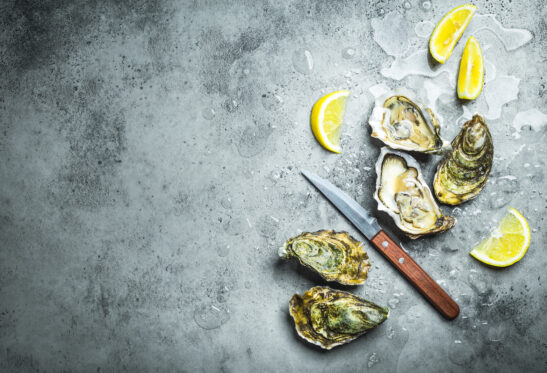
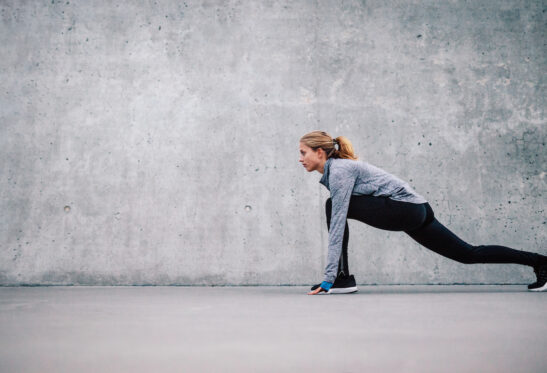
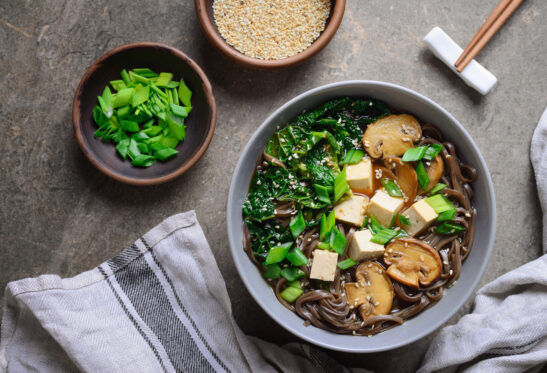
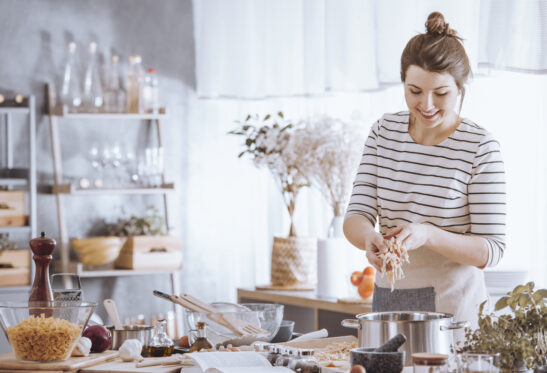
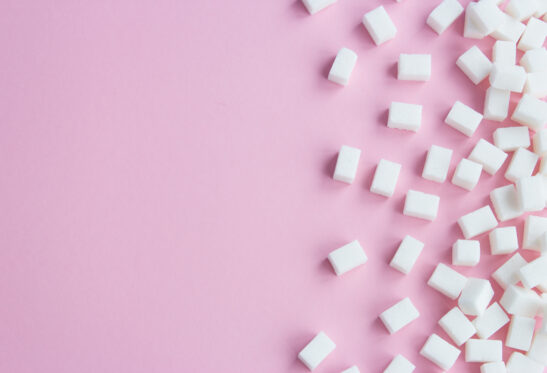
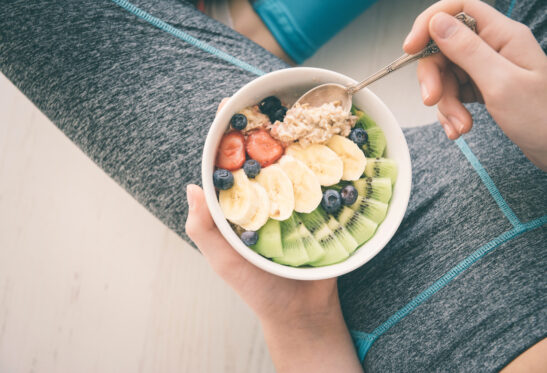
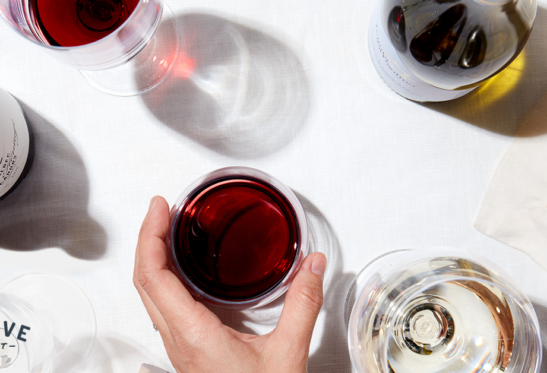
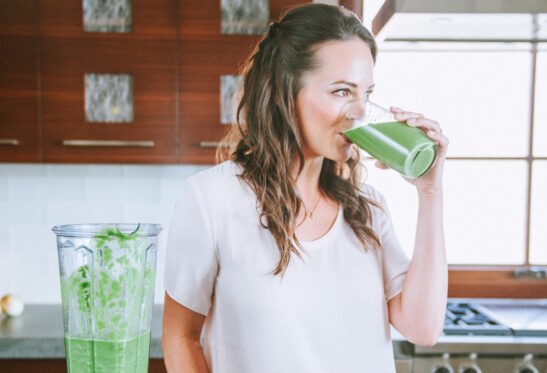
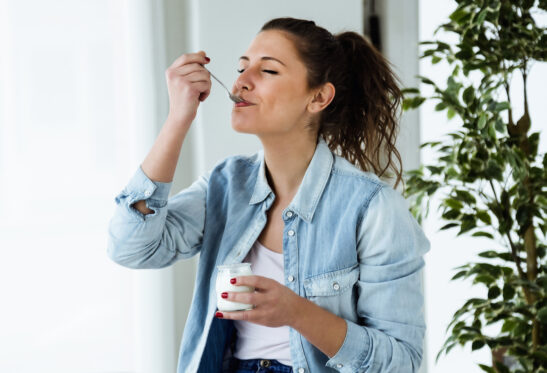
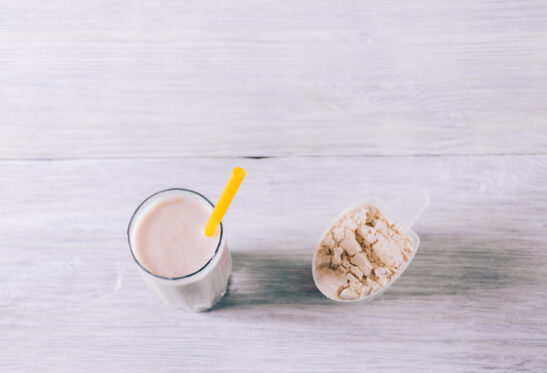
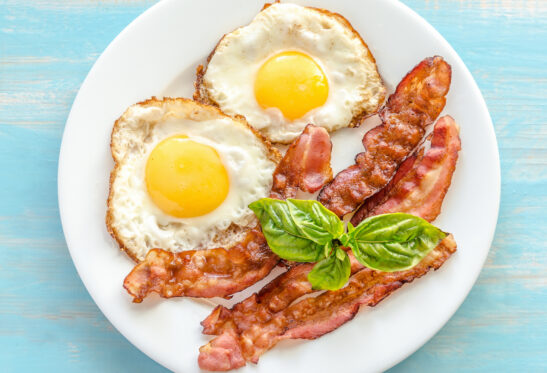
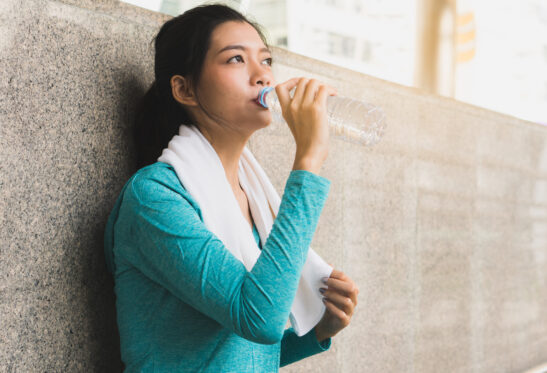
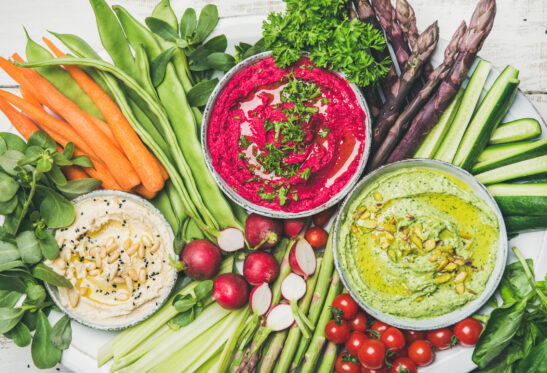
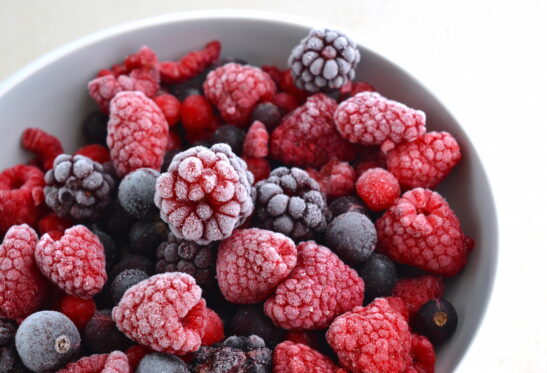
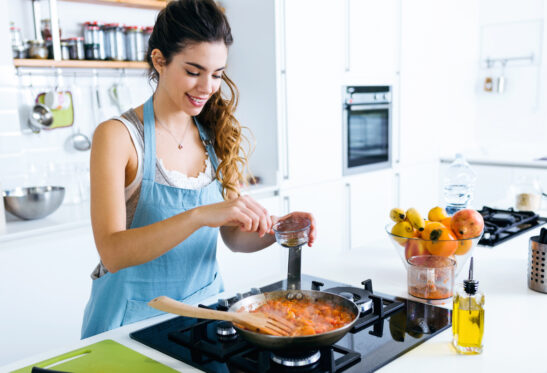
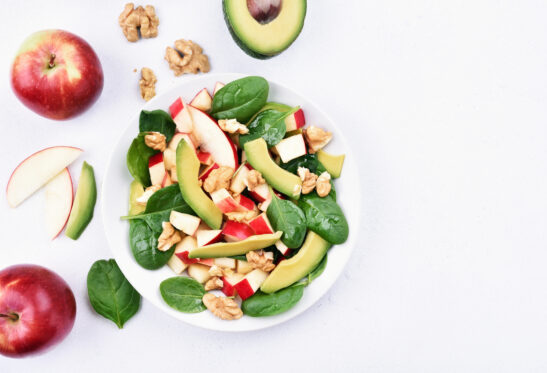
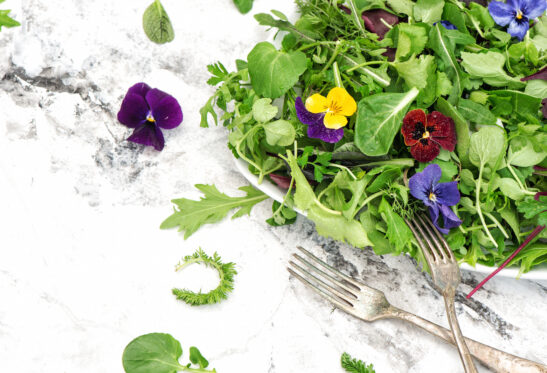
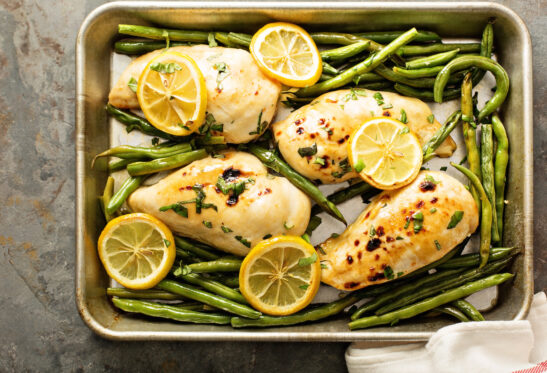
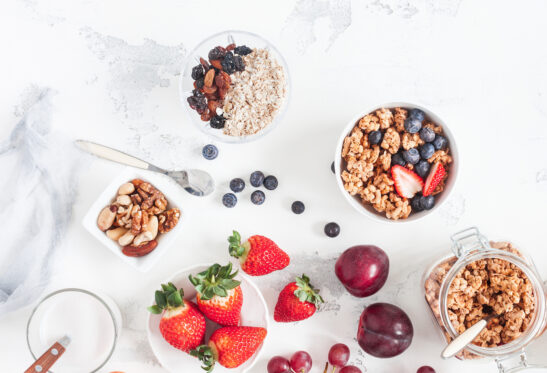
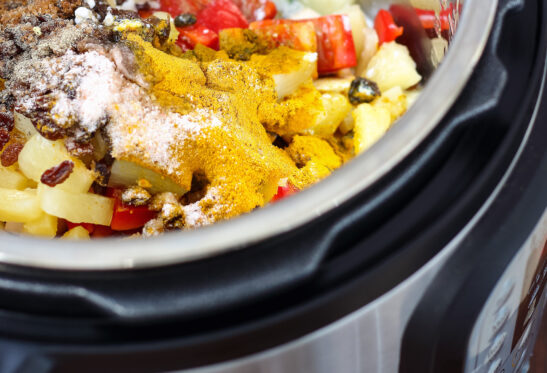
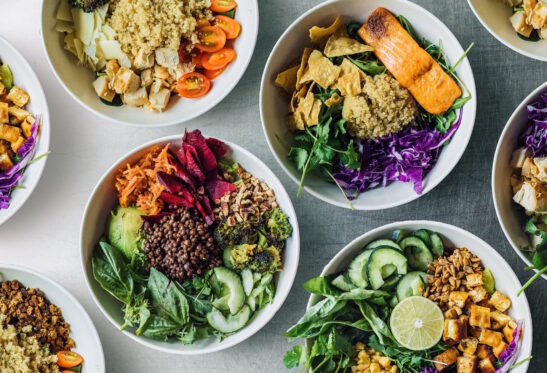
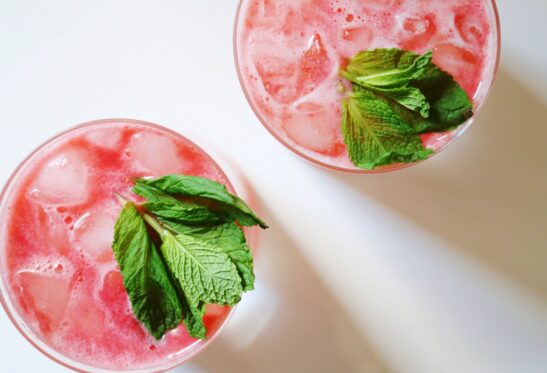
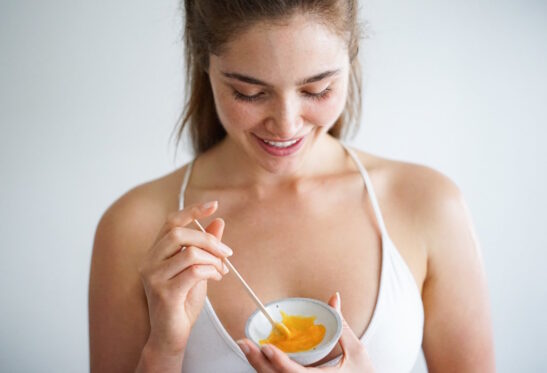
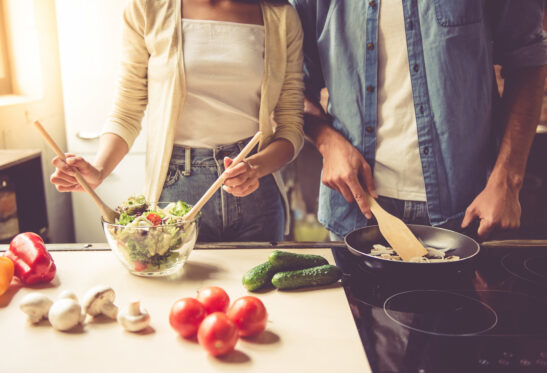
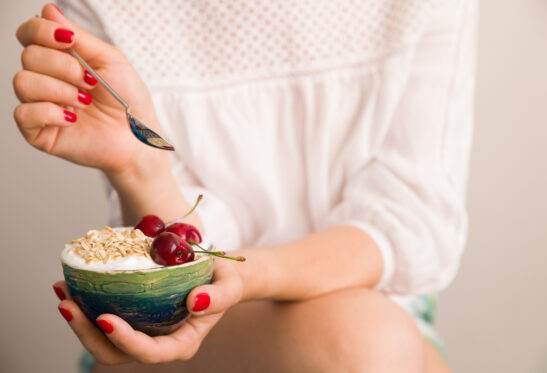
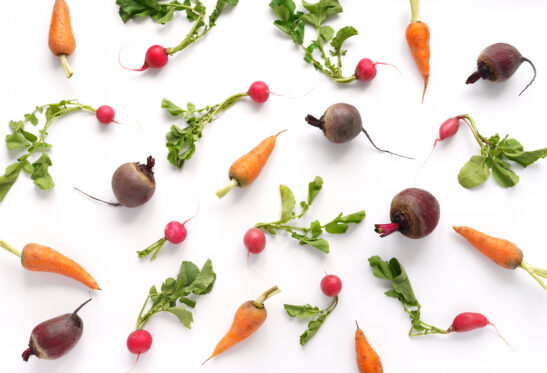
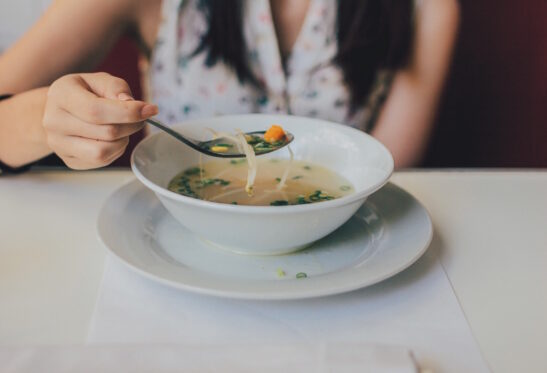
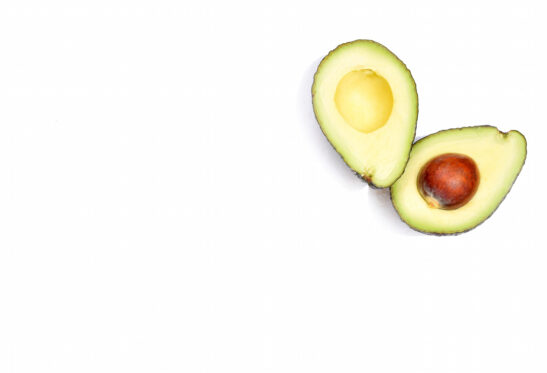
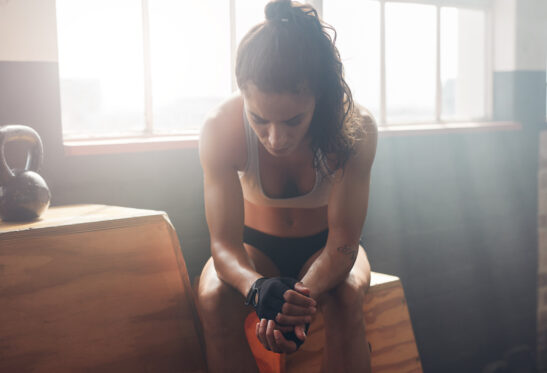
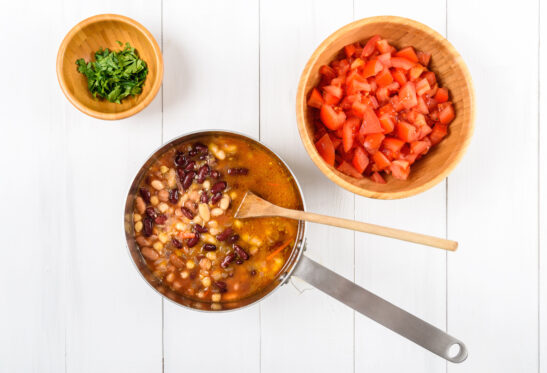
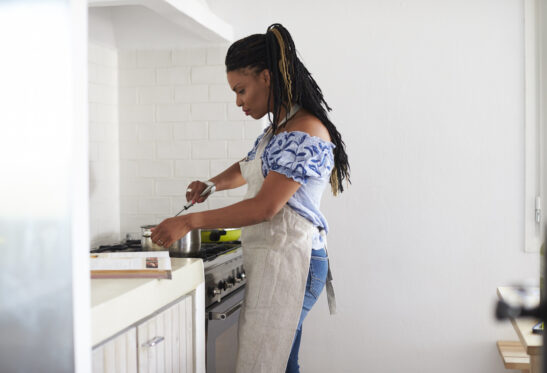
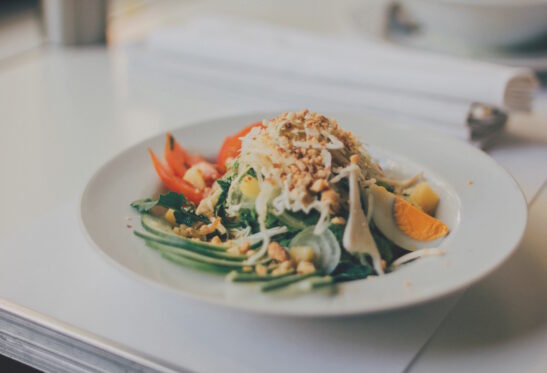
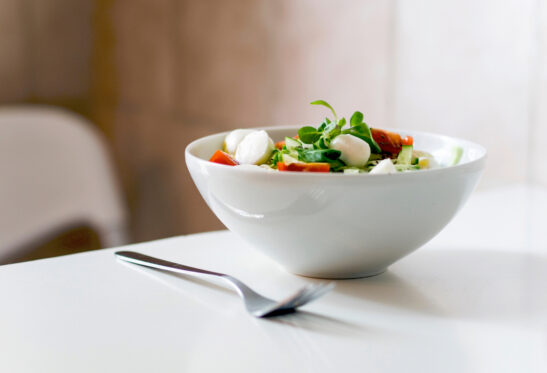
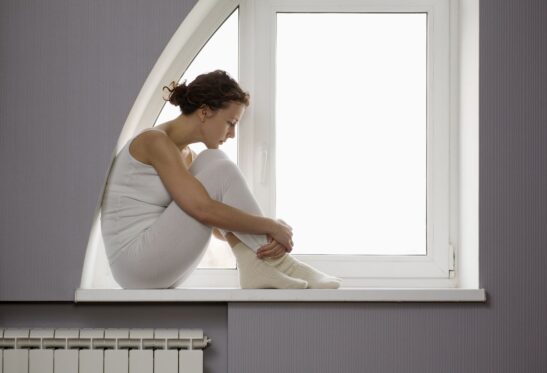
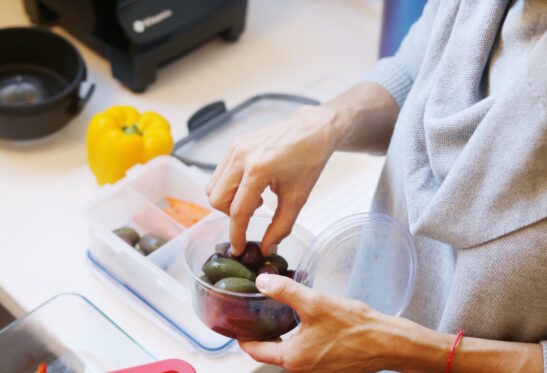
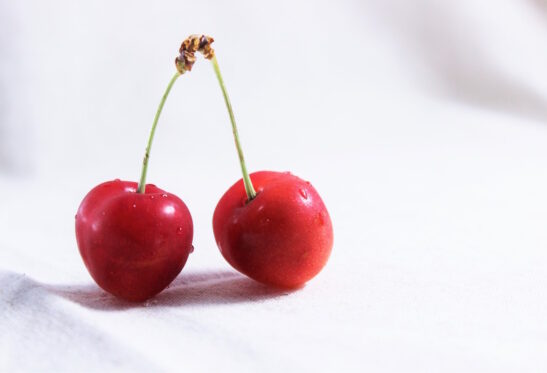
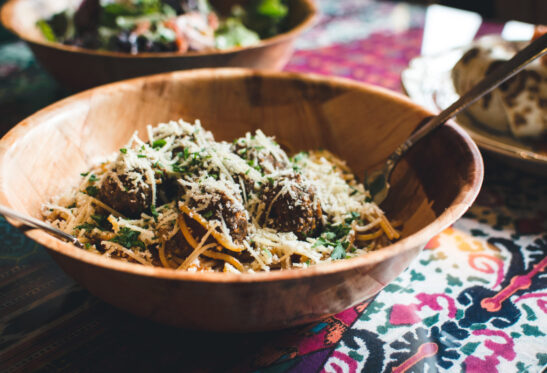
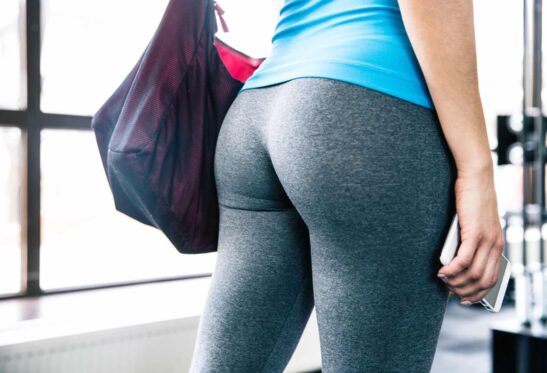
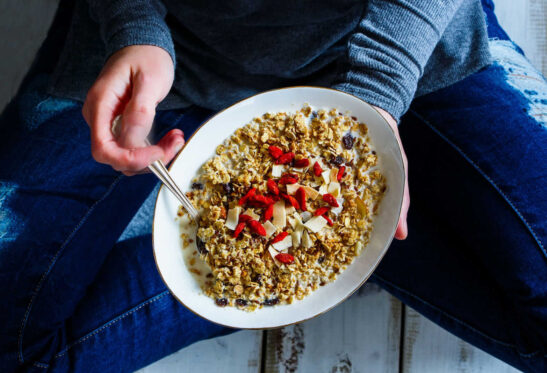
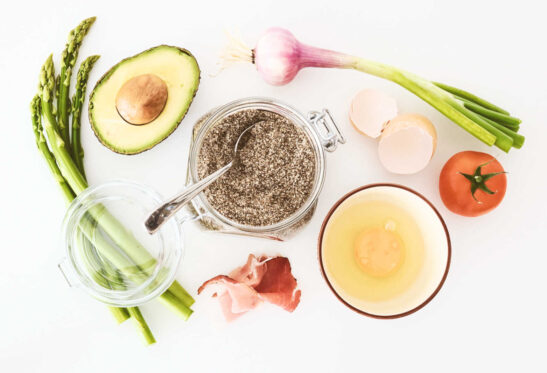
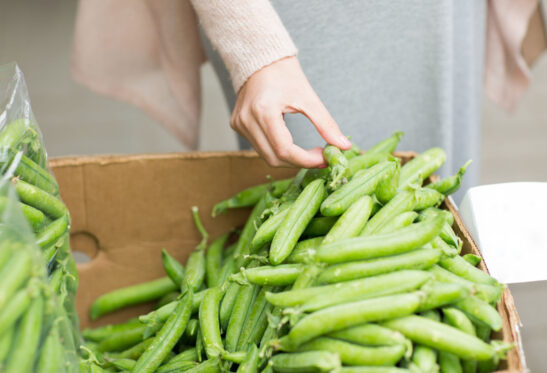
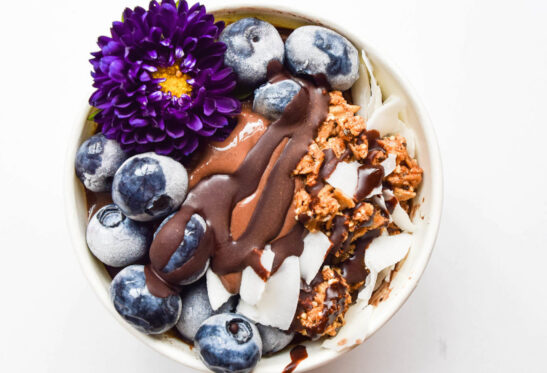
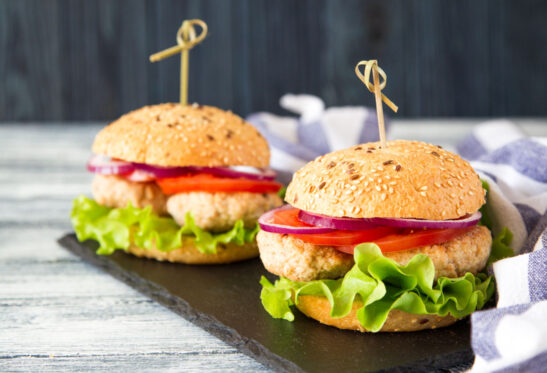
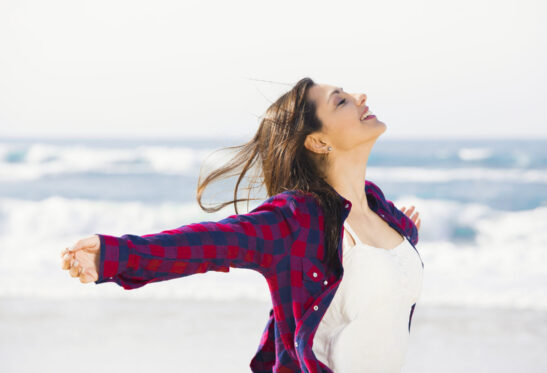
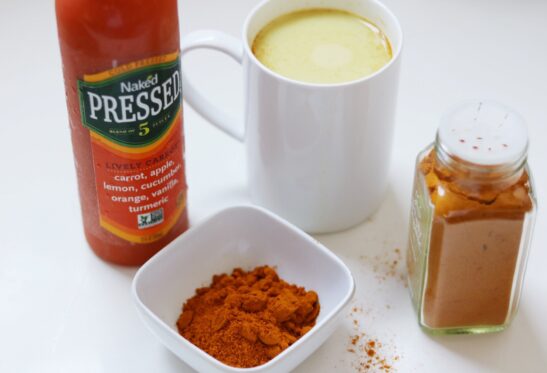
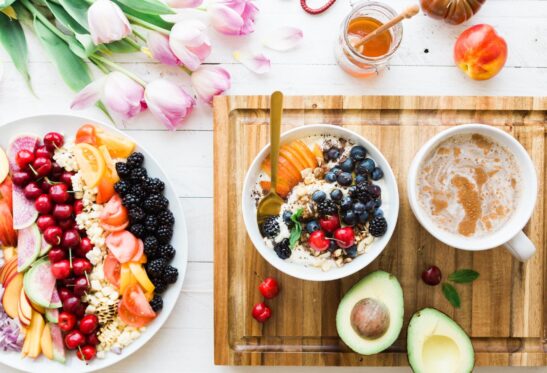
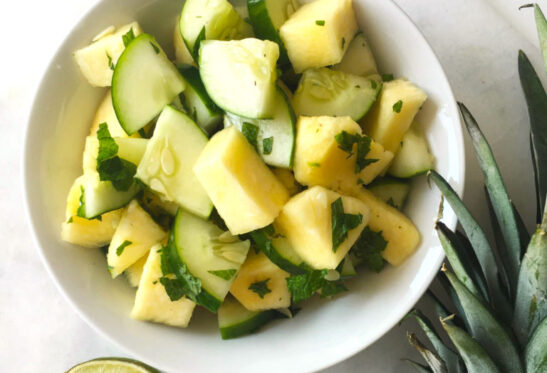
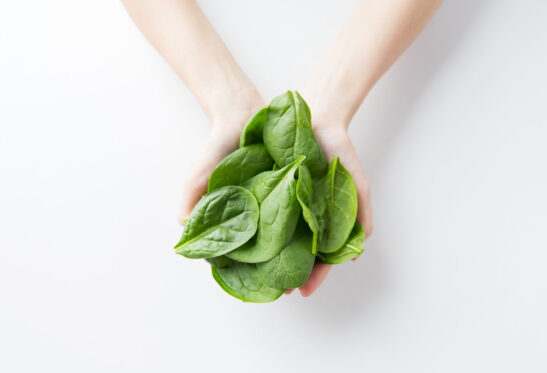
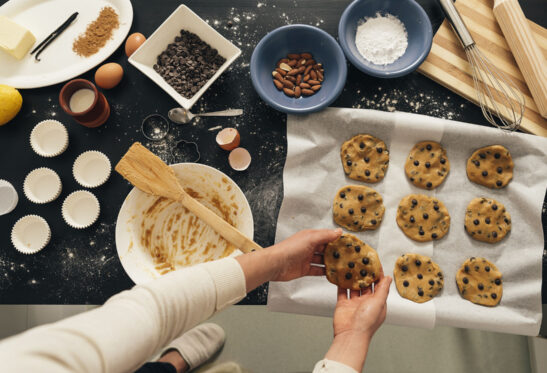
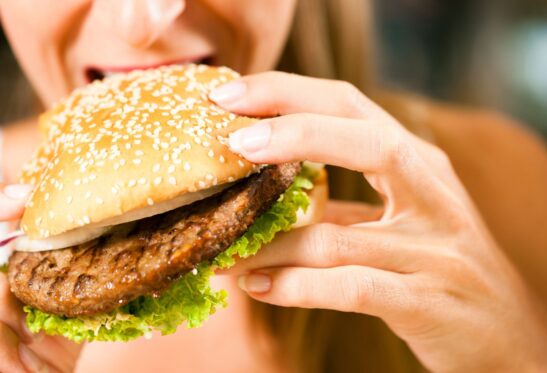
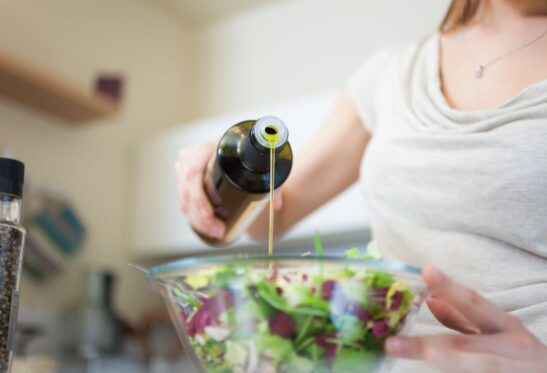
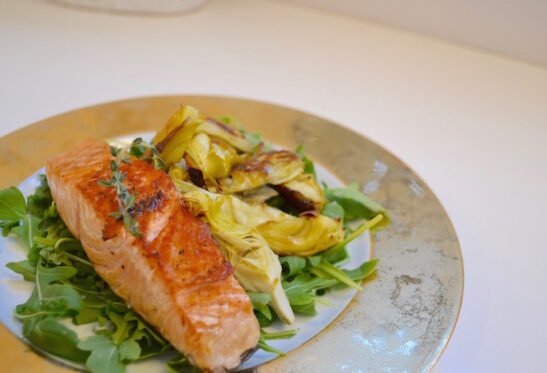
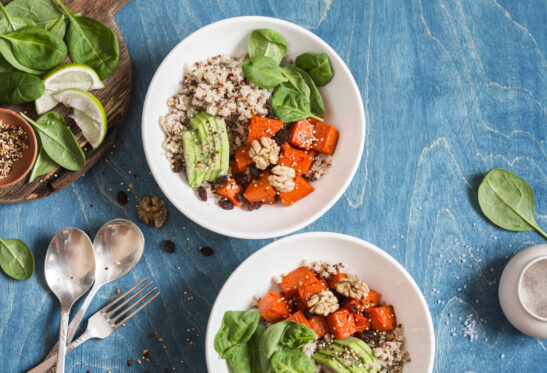
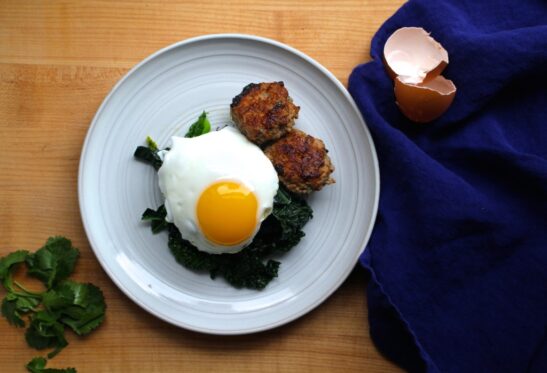
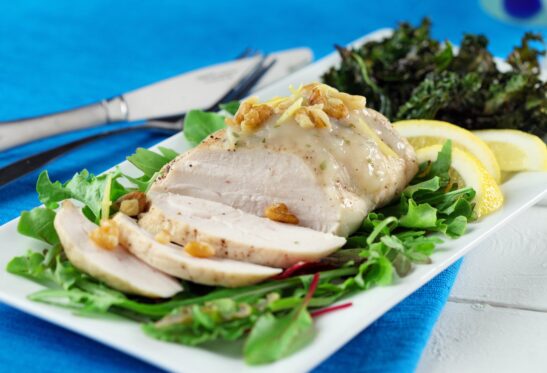
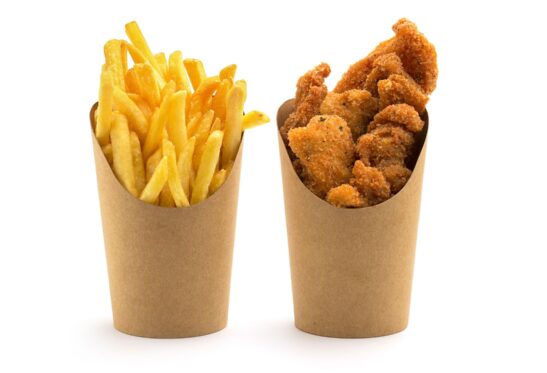
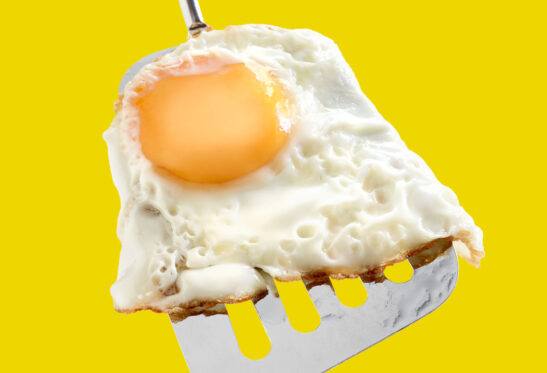
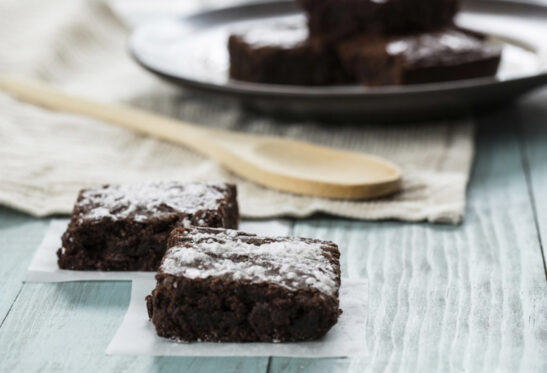
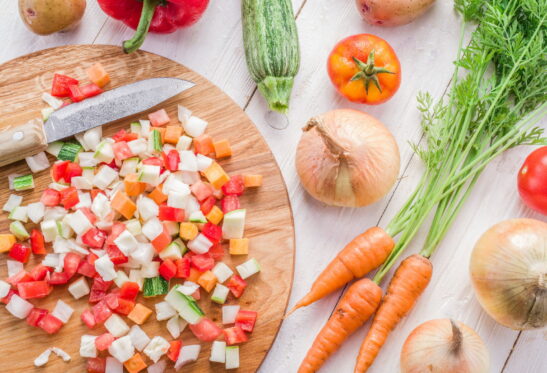
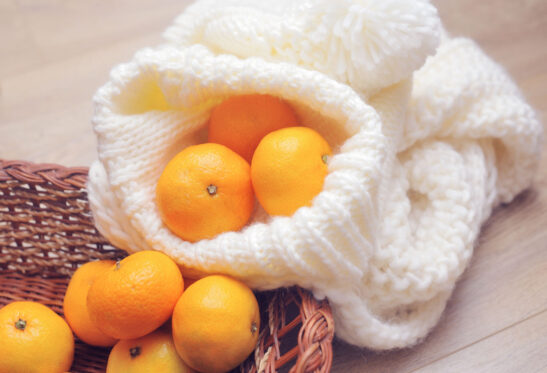
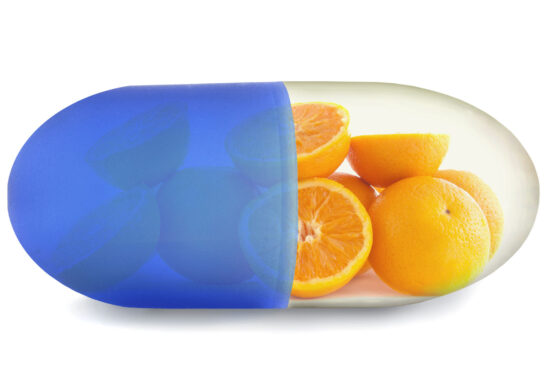
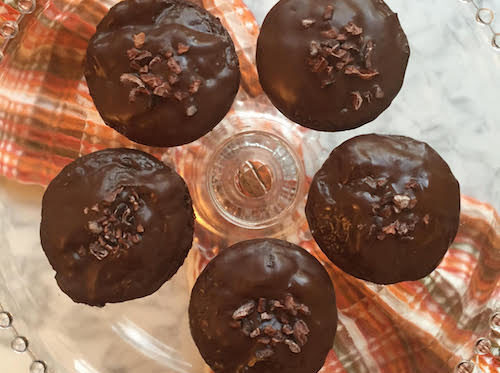
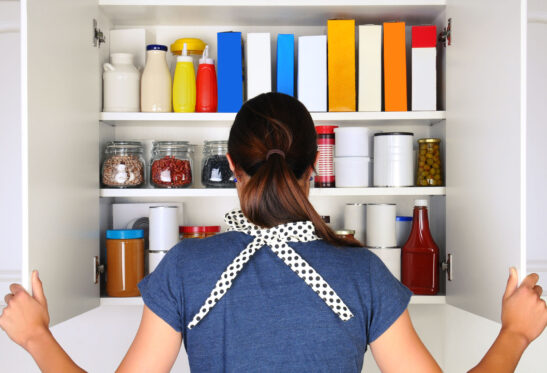
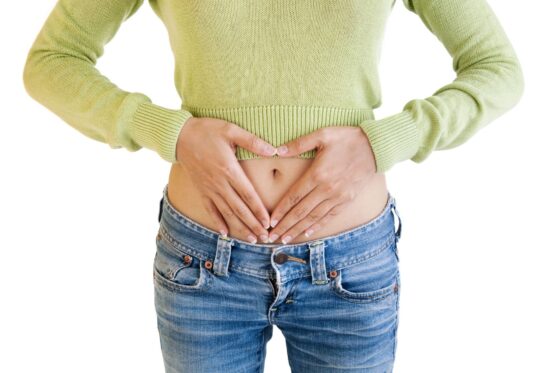
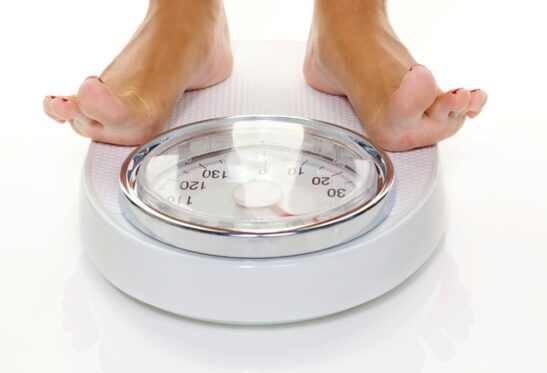
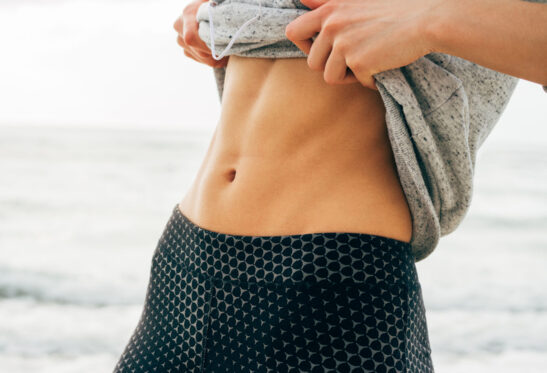
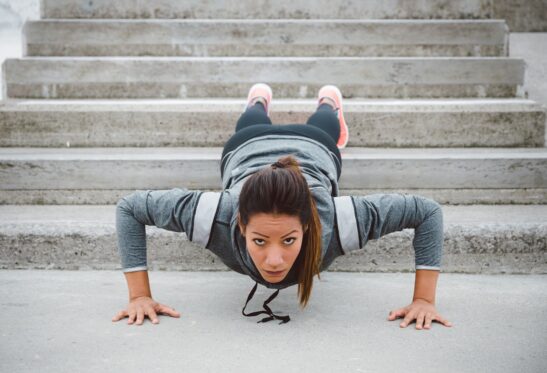
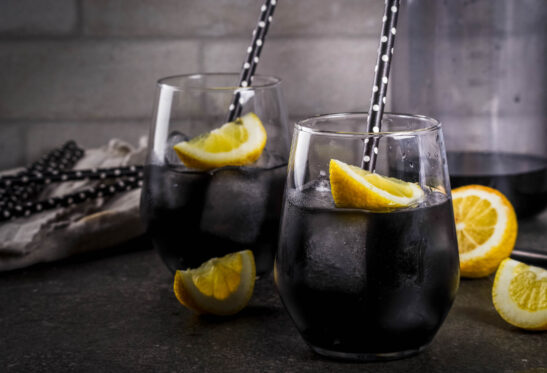
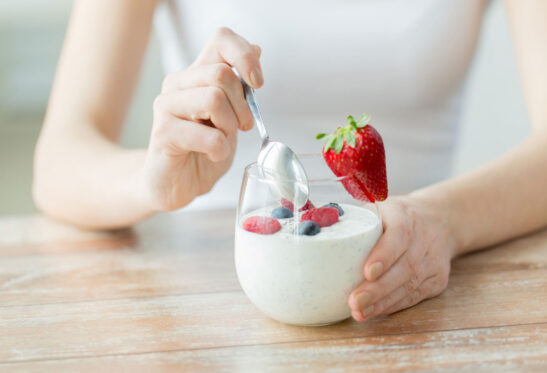
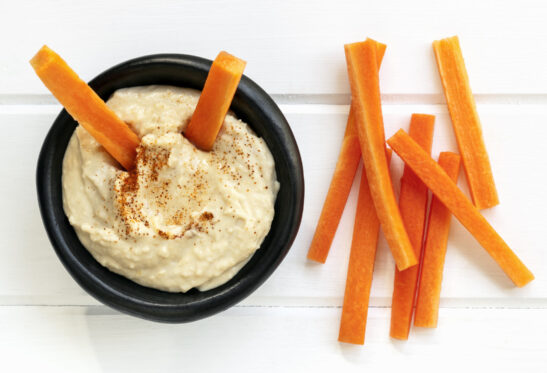
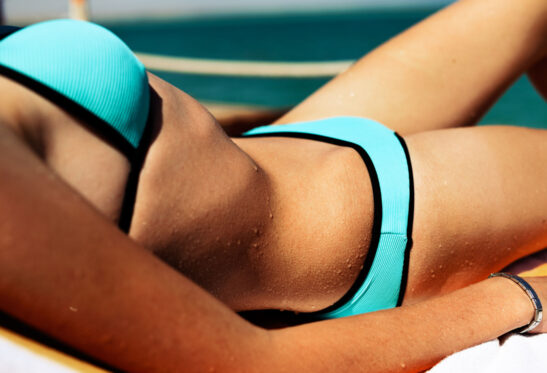
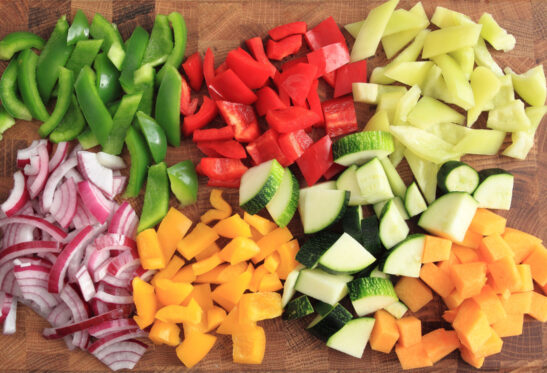
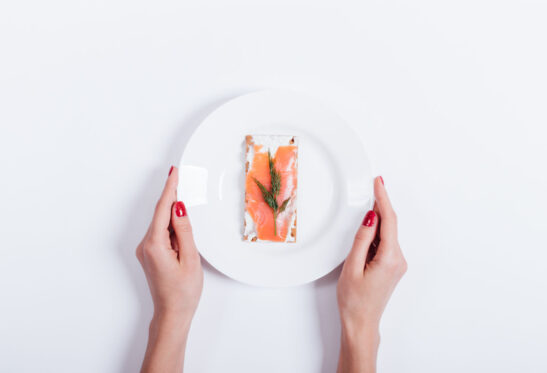
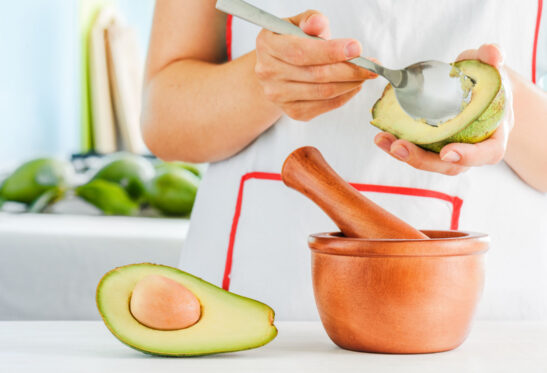
We all overindulge on food from time to time, and this can leave us feeling sluggish and bloated. Can you relate?
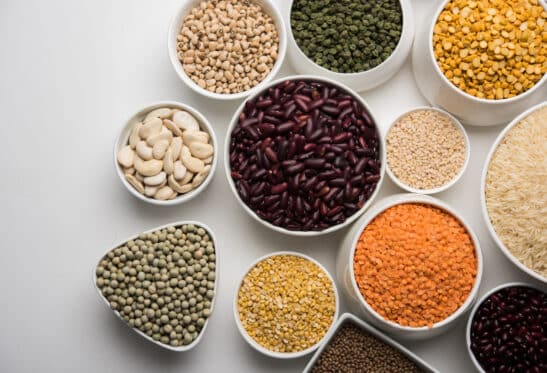
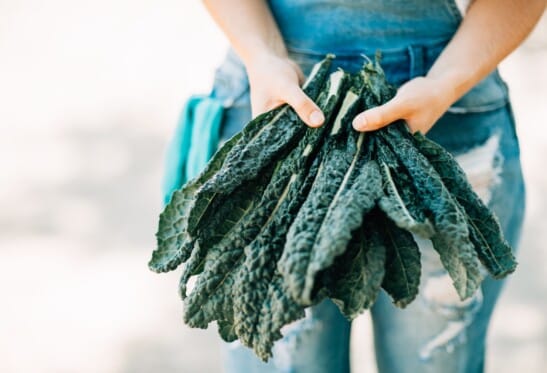
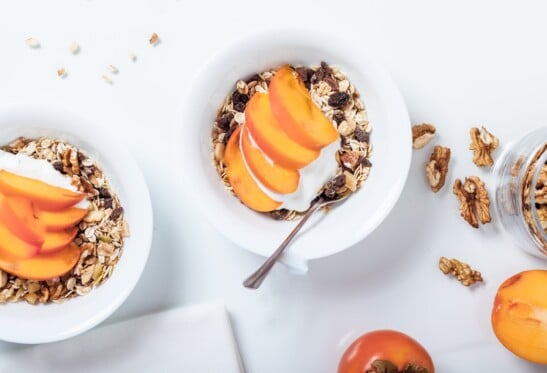
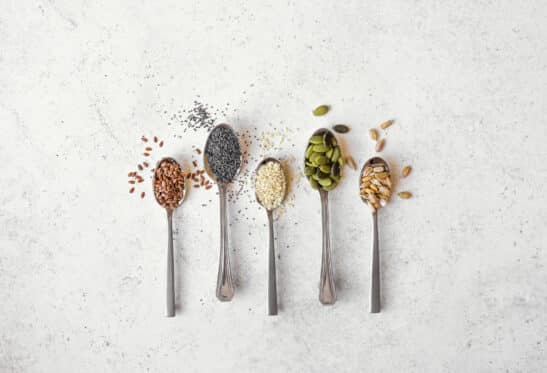
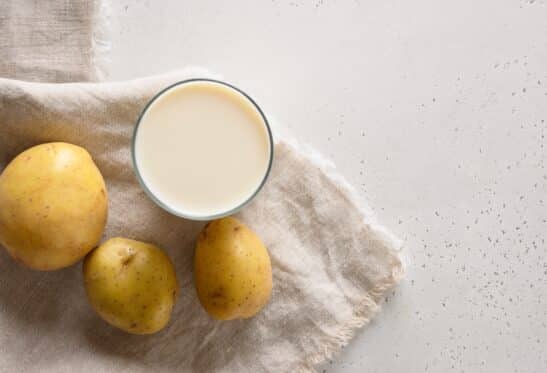
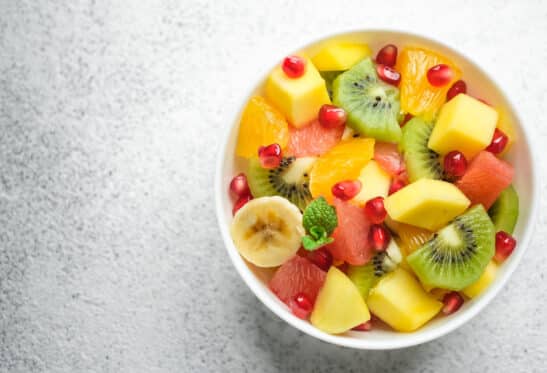
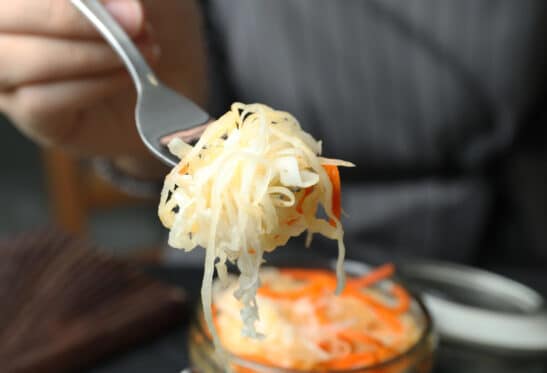
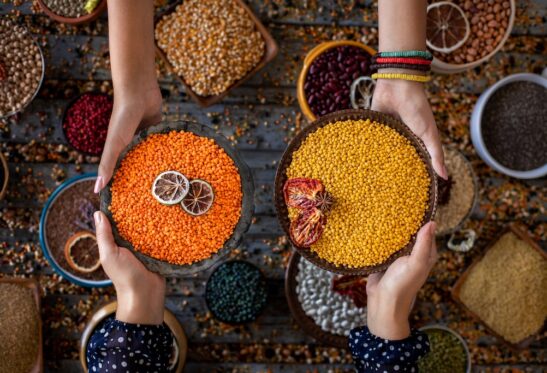
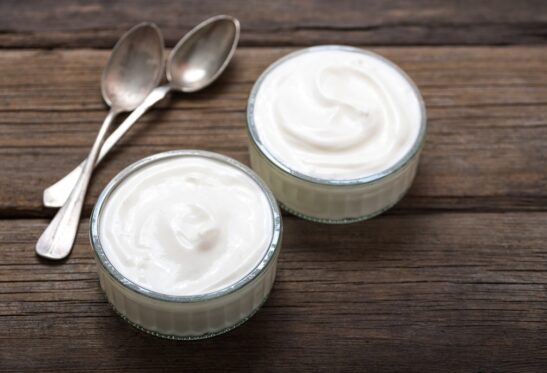
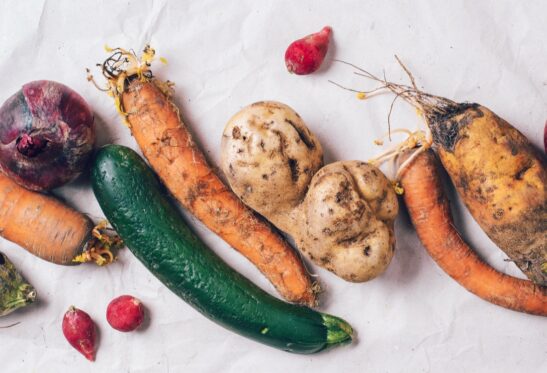
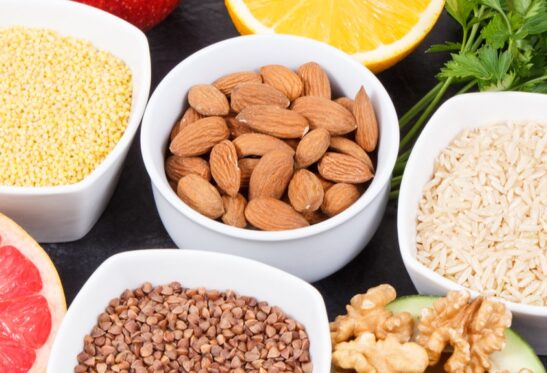
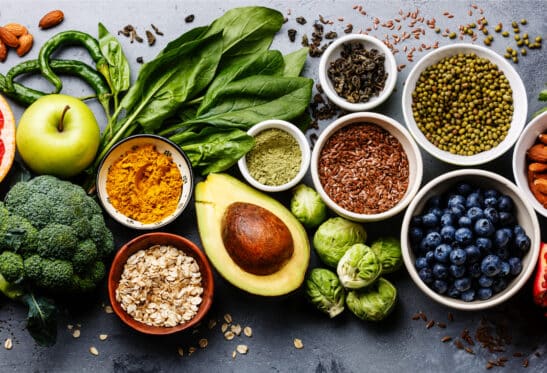
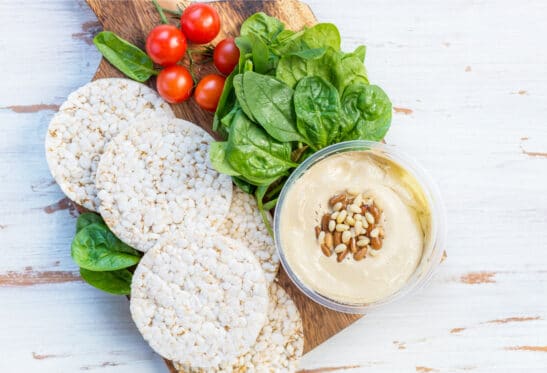
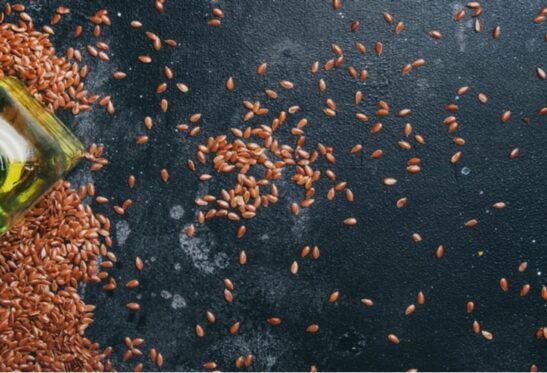
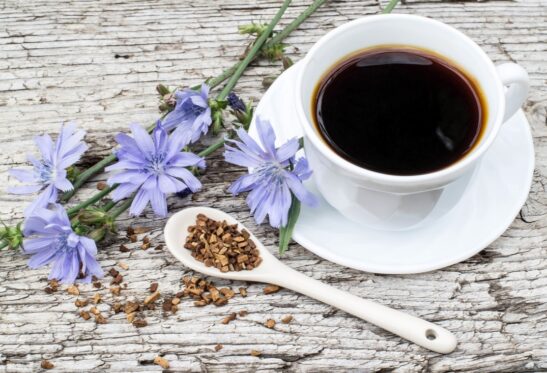
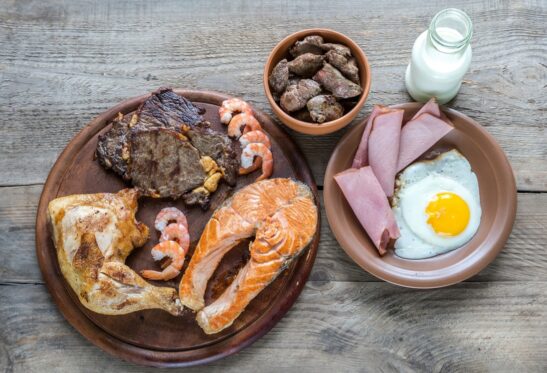
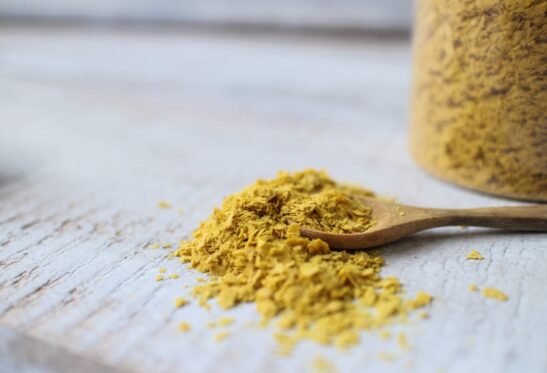
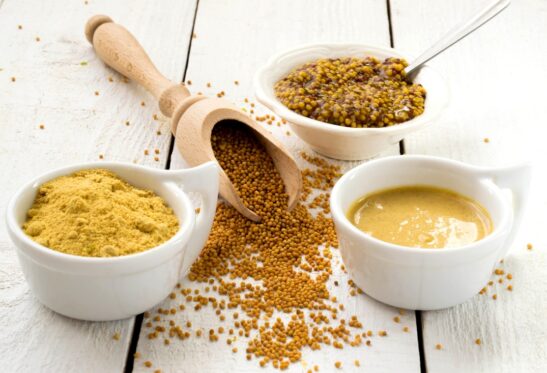
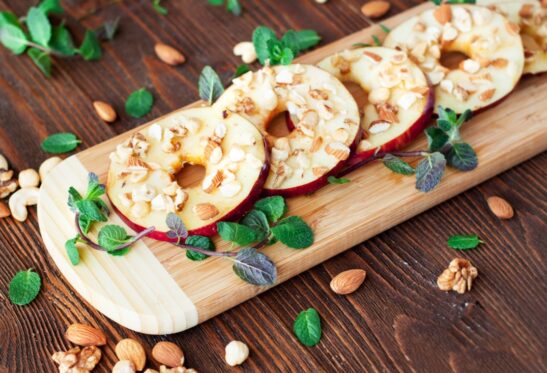
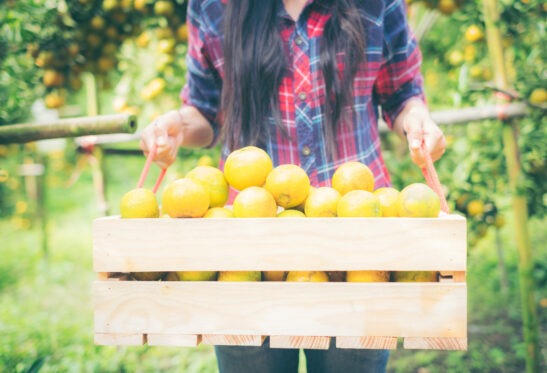
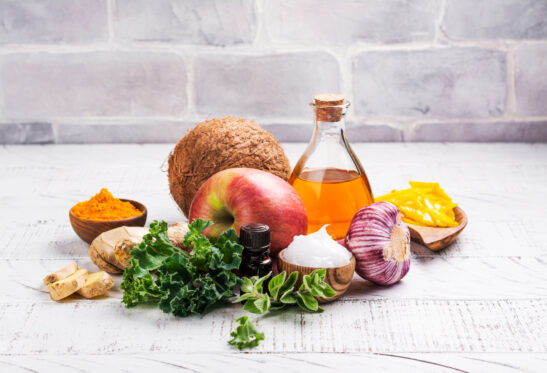
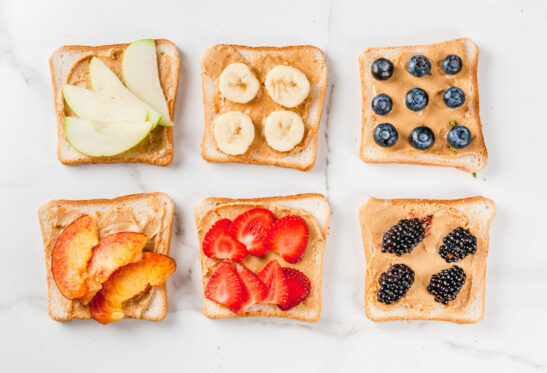
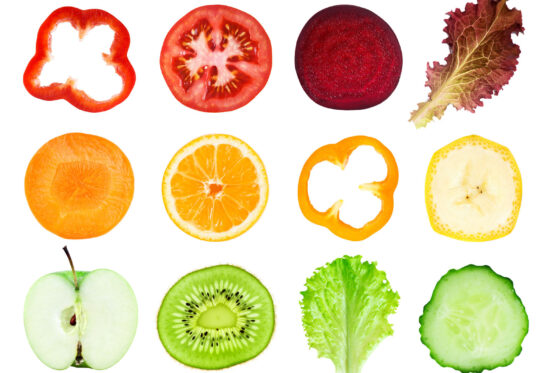
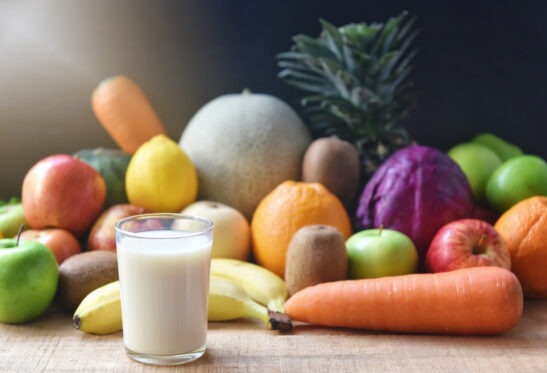
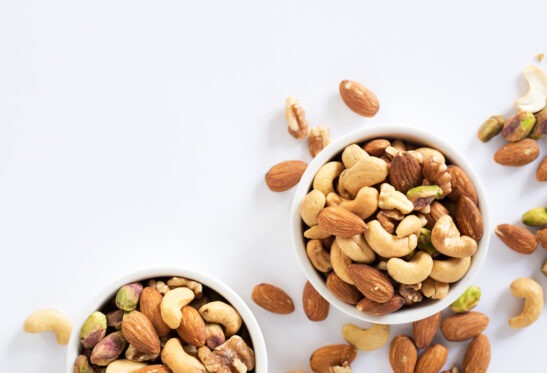
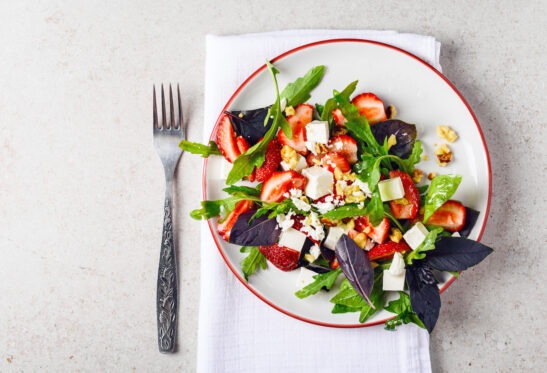
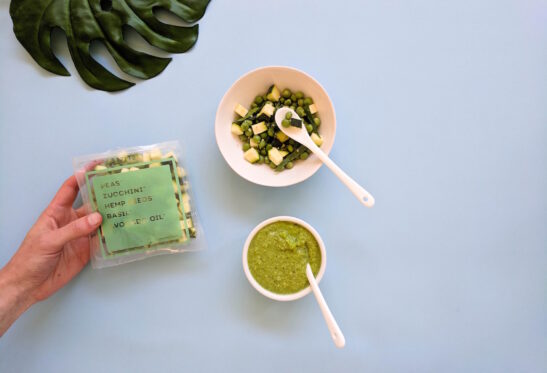
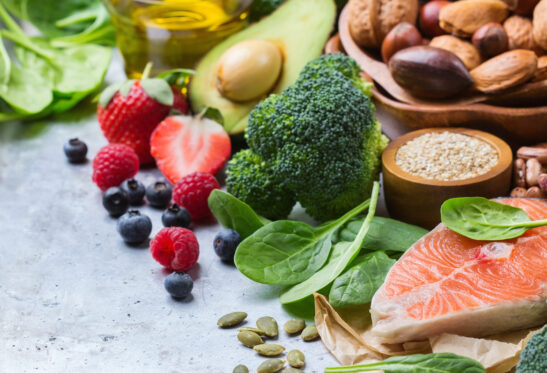
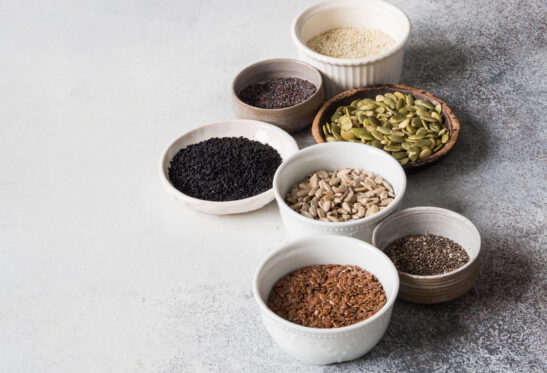
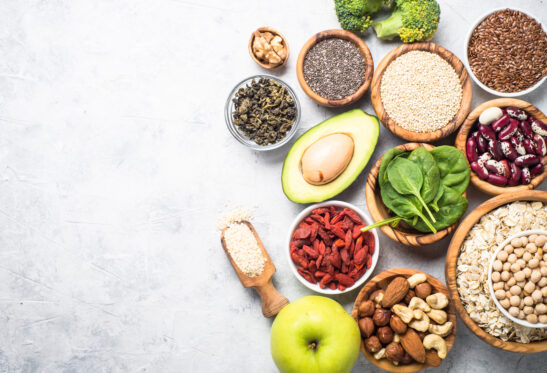
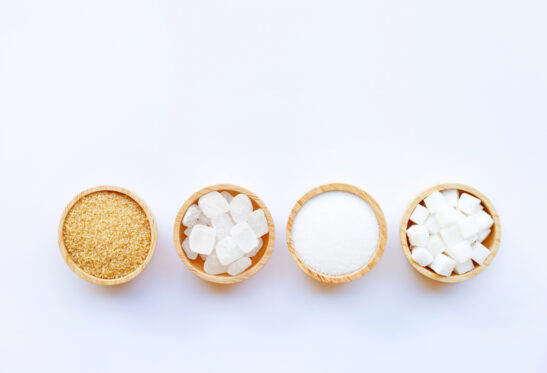
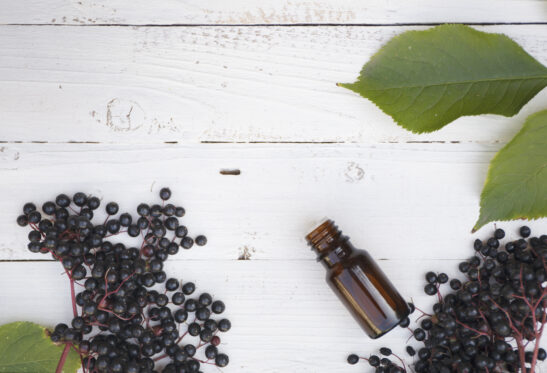
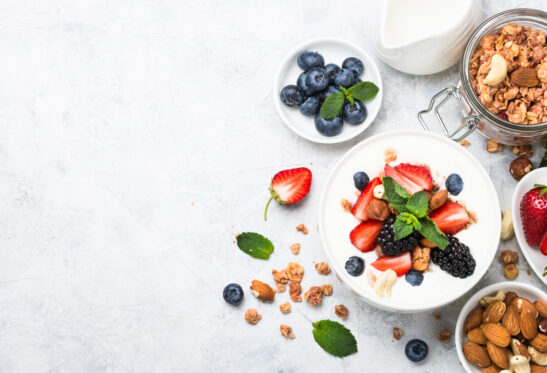
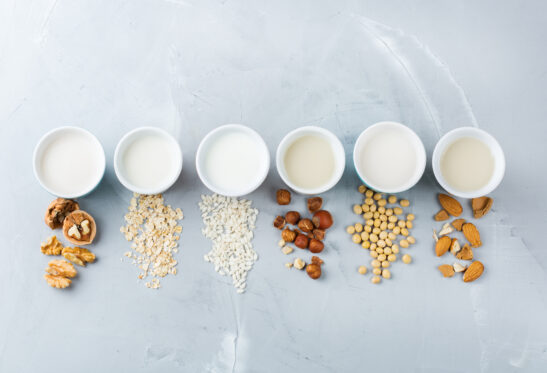
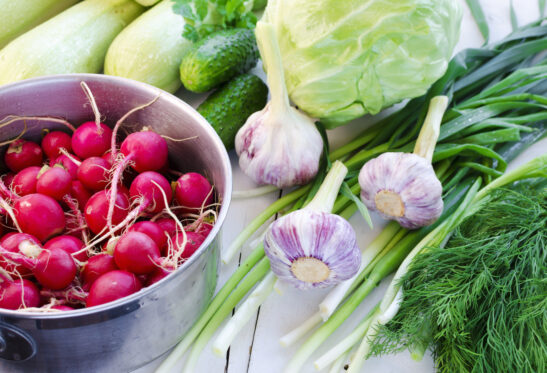
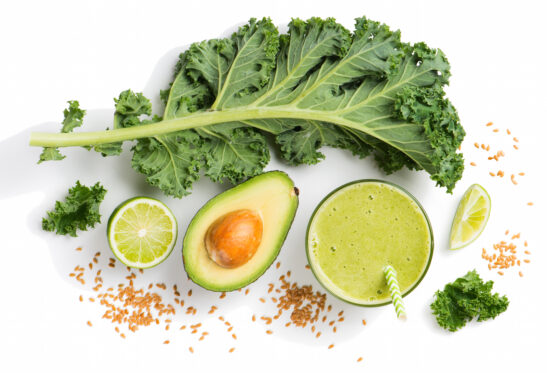
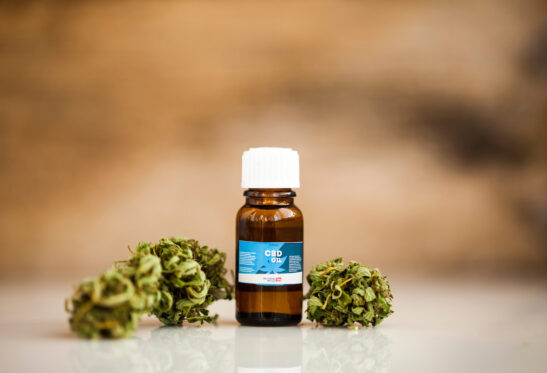
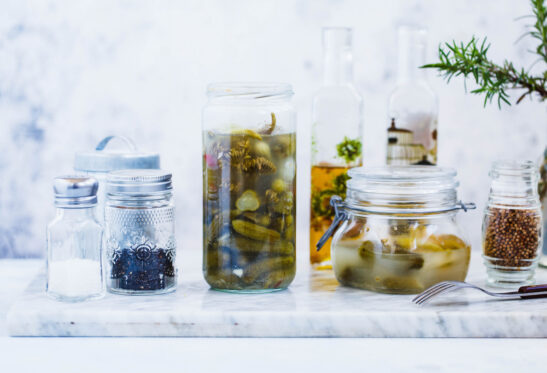
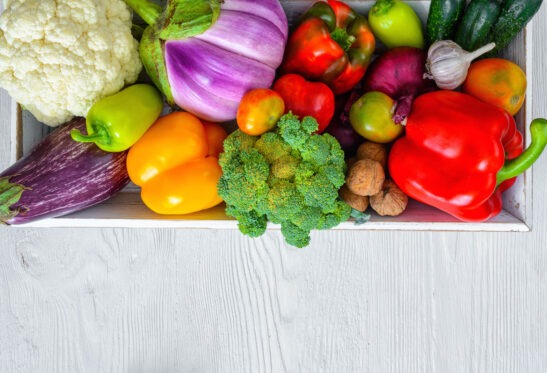
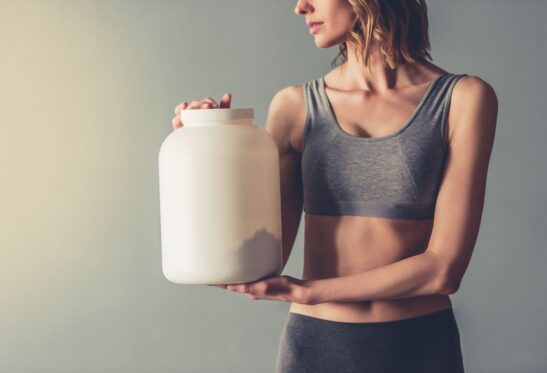
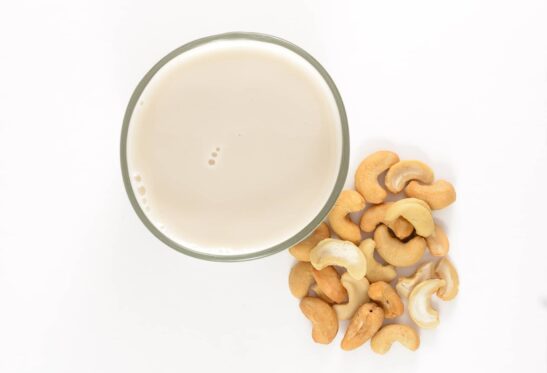
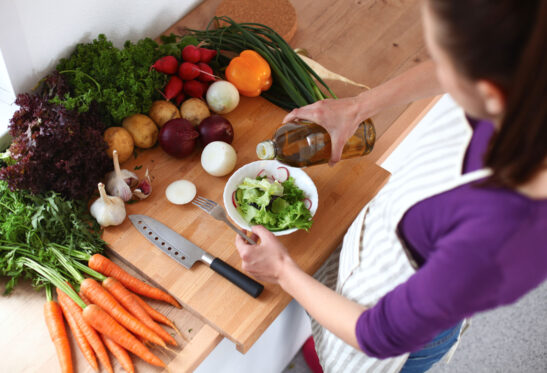
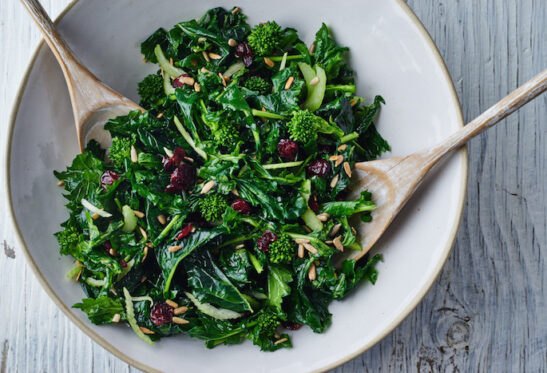
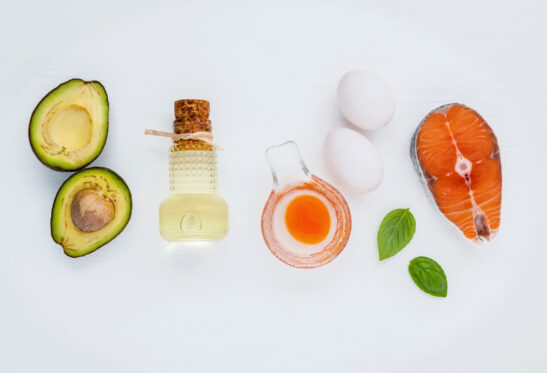
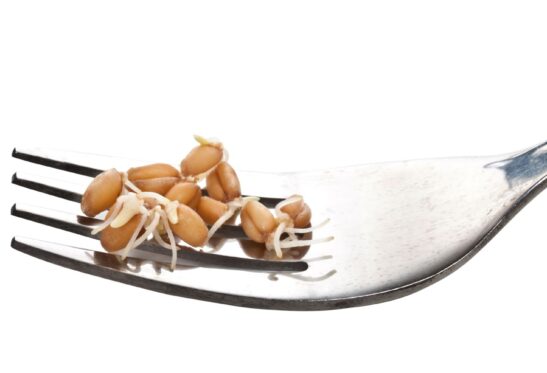
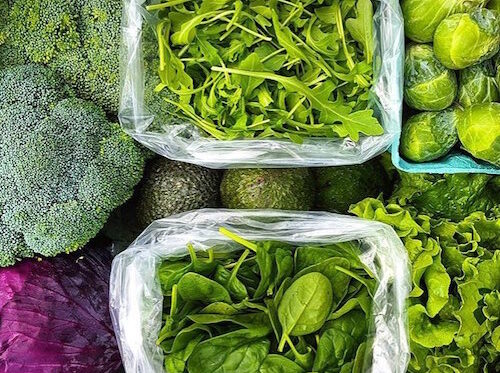
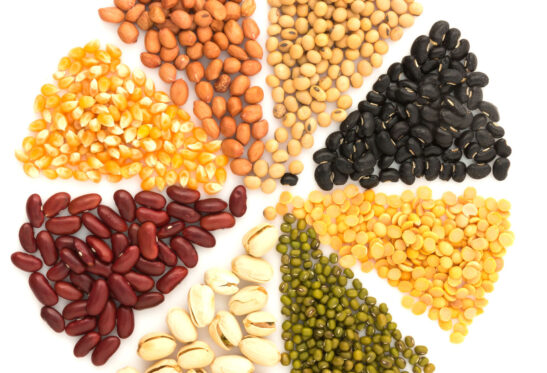
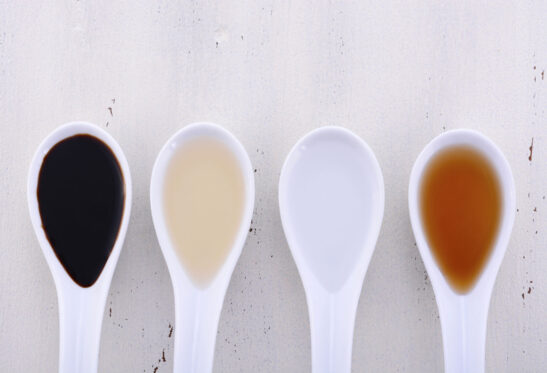
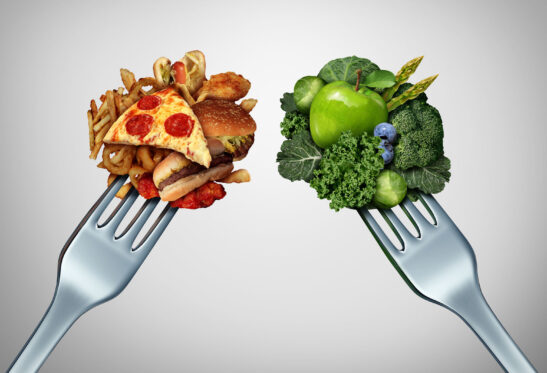
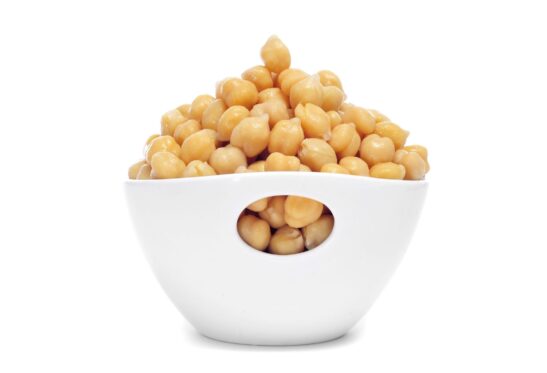
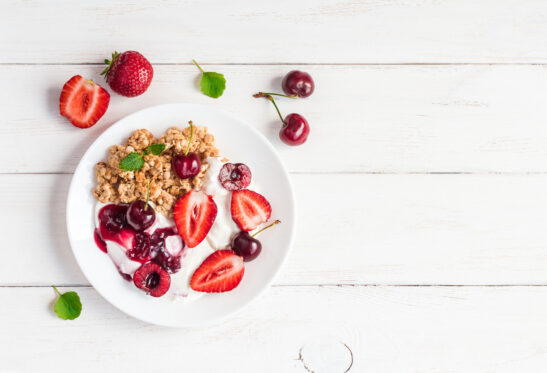
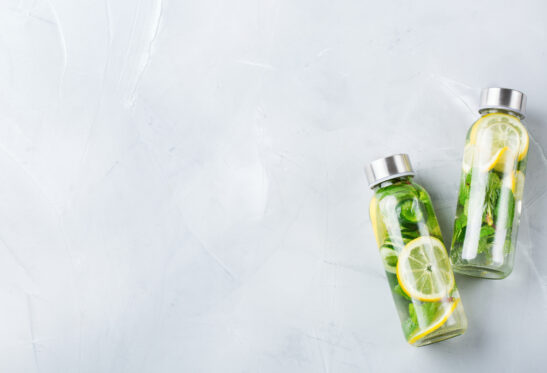
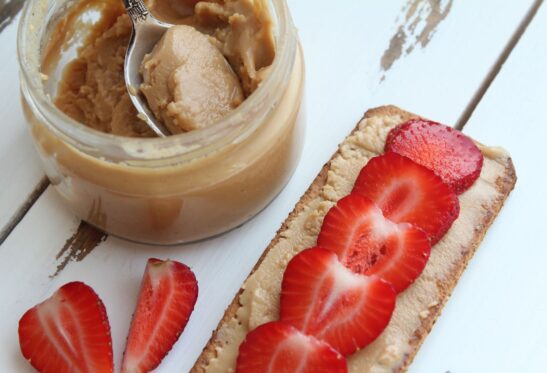
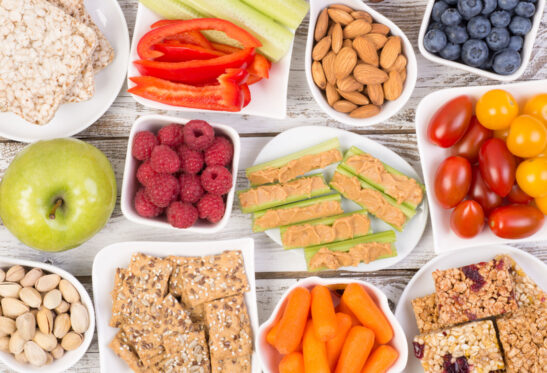
Bloating is usually caused by an increased production of gas in the colon, which can happen for a number of reasons, such as: from the food you have eaten, consuming food too fast, inadequate amounts of fiber, or even stress.
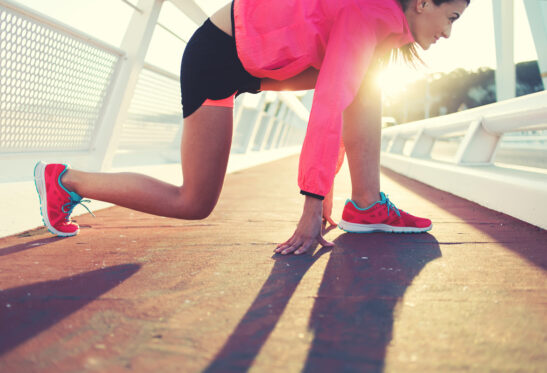
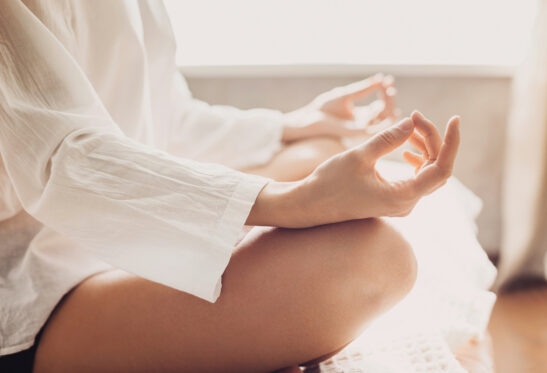
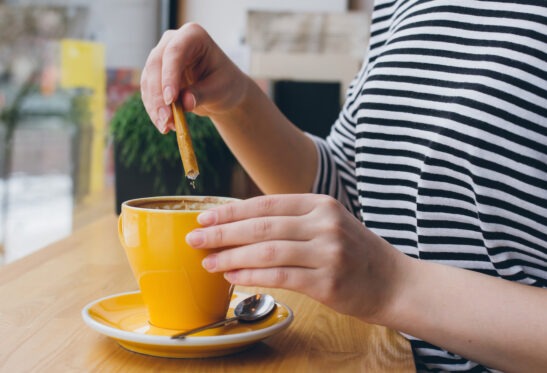
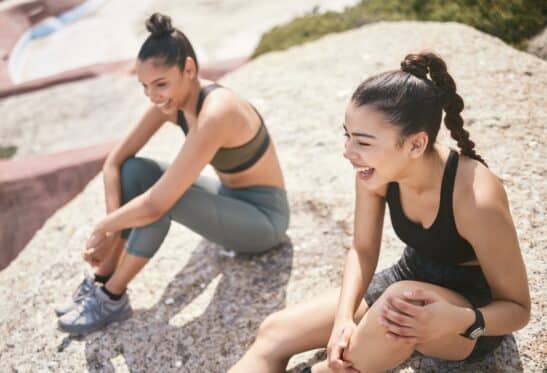
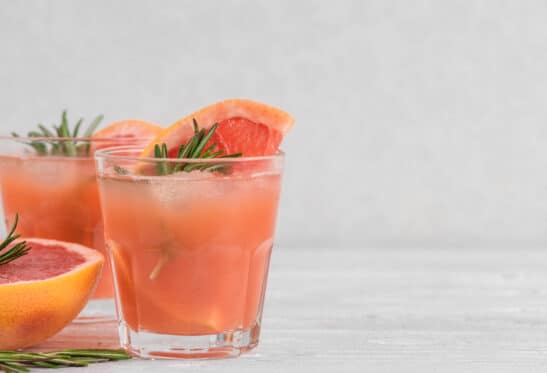
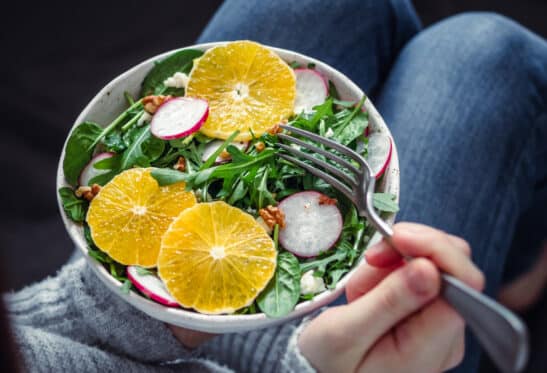
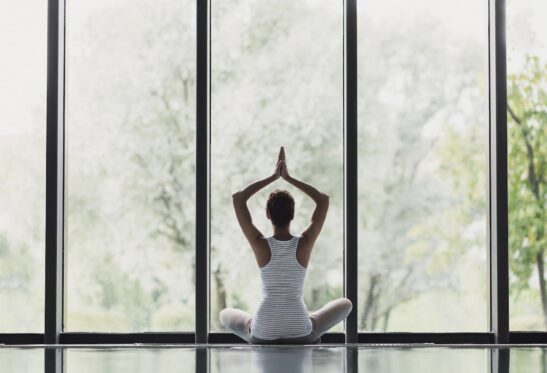
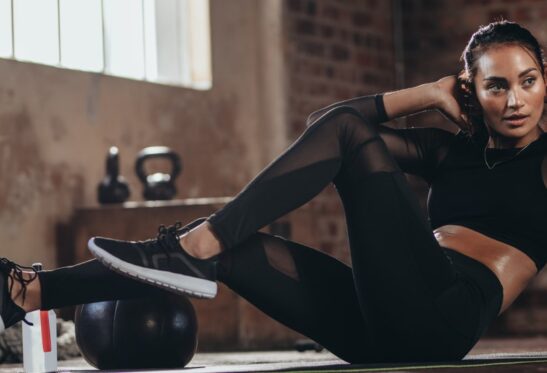
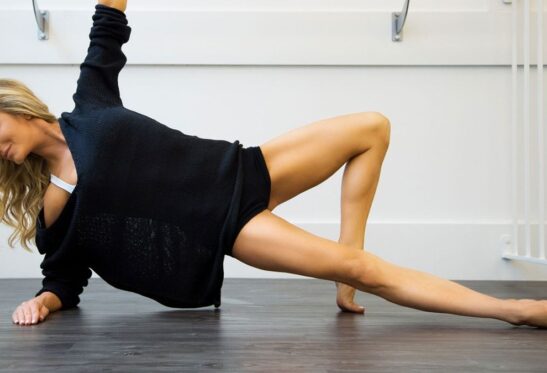
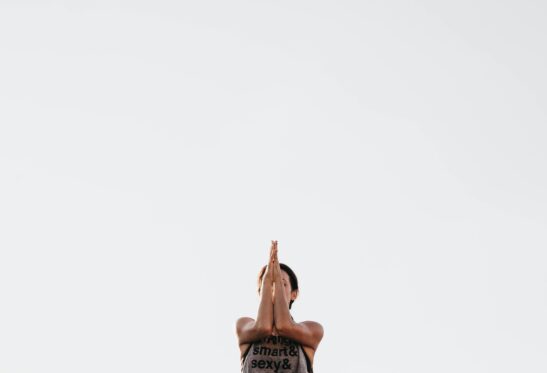
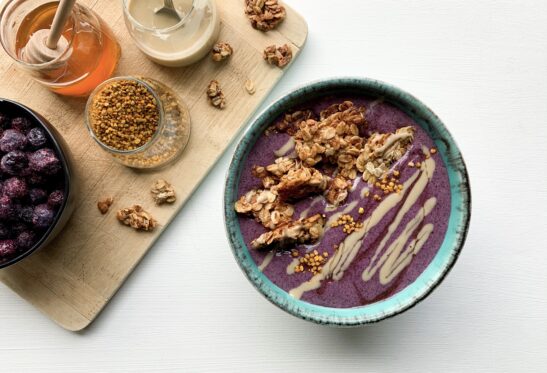
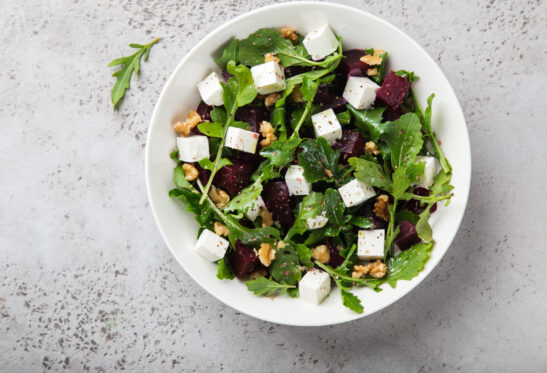
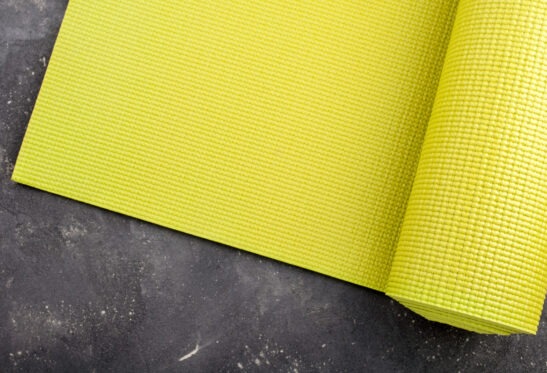
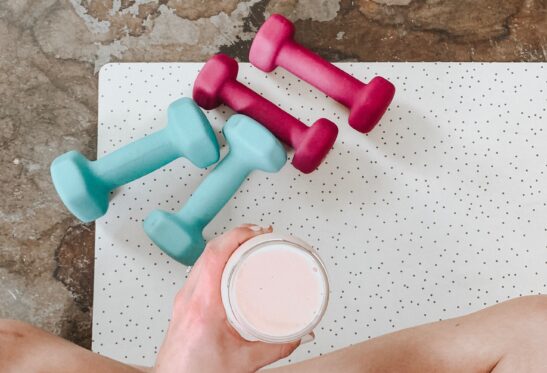
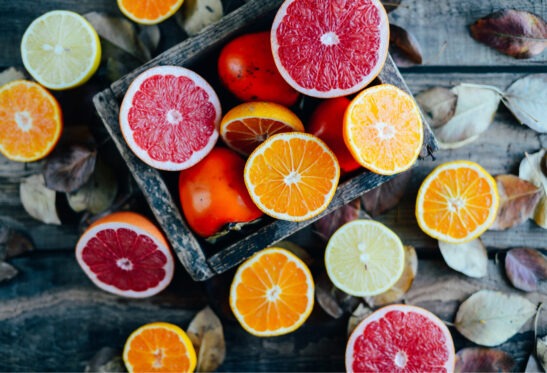
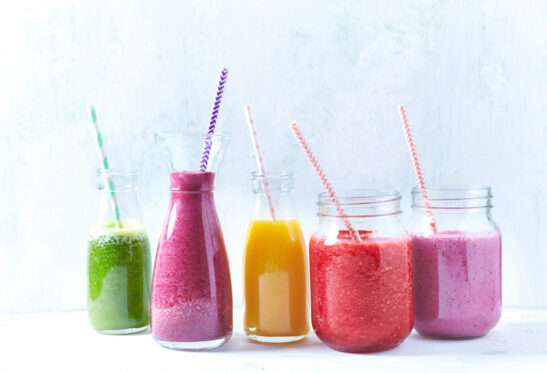
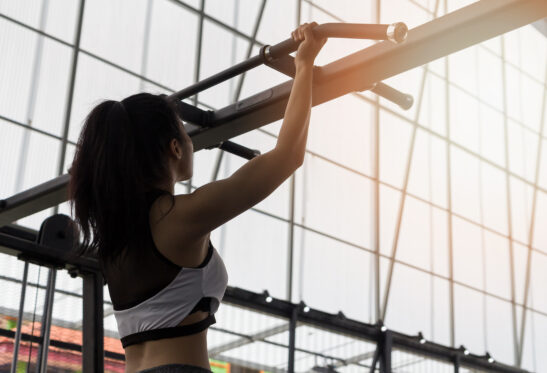
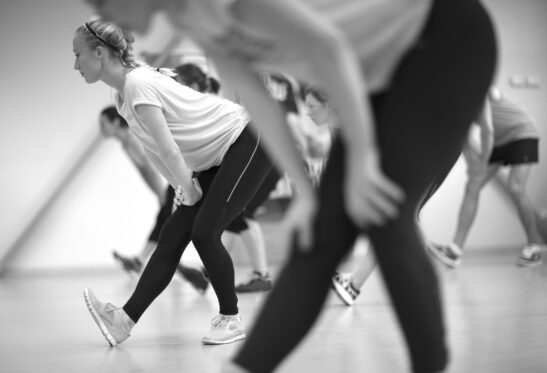
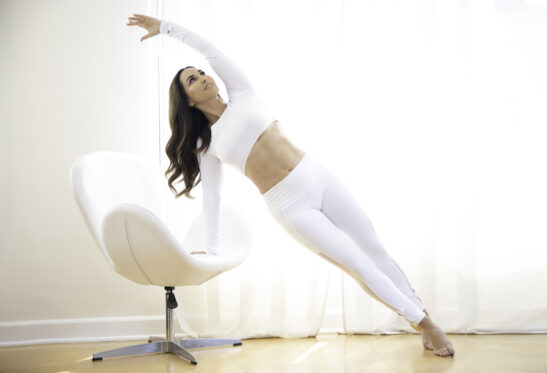
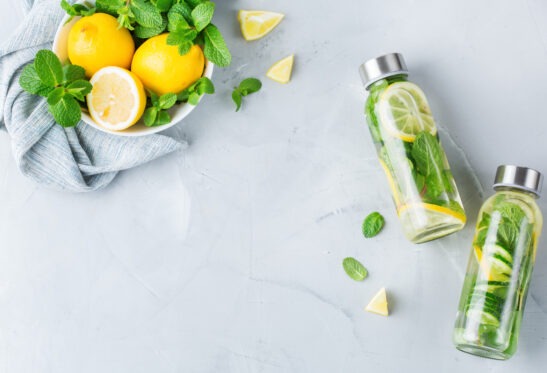
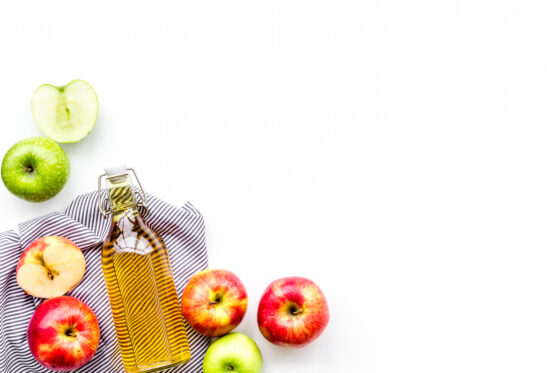
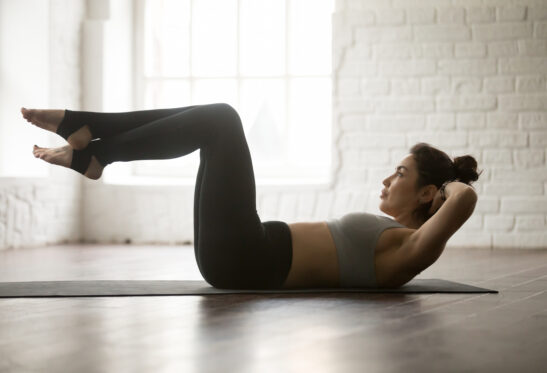
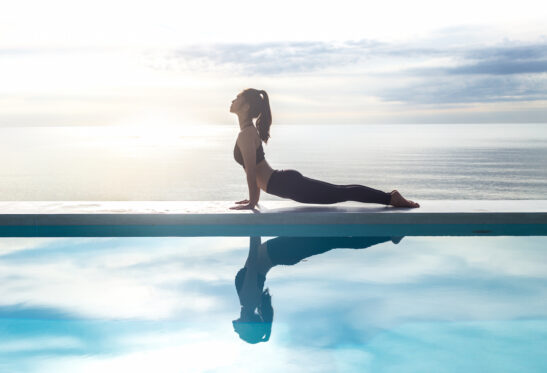
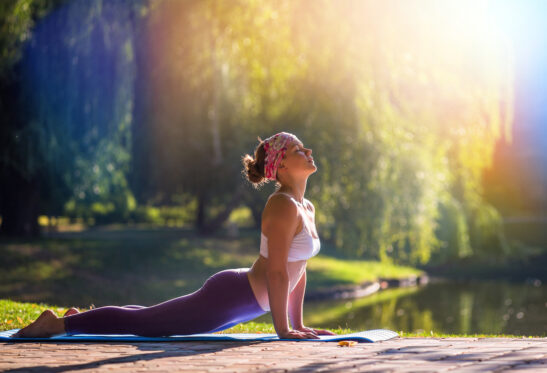
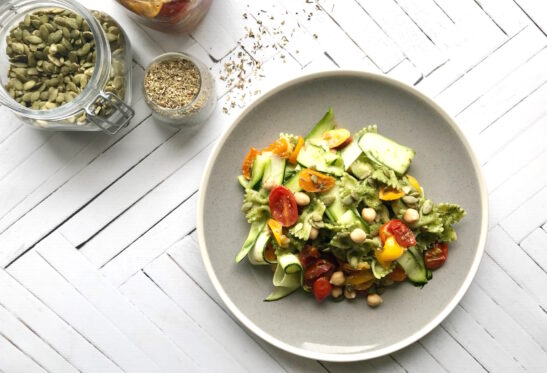
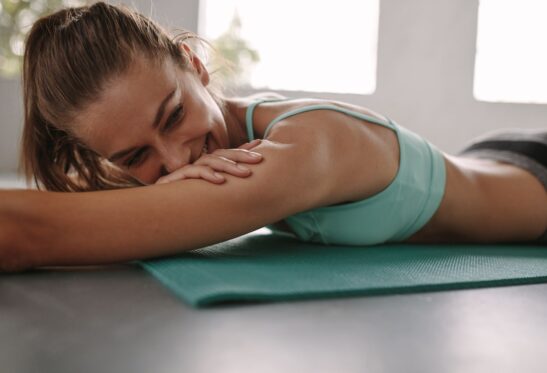
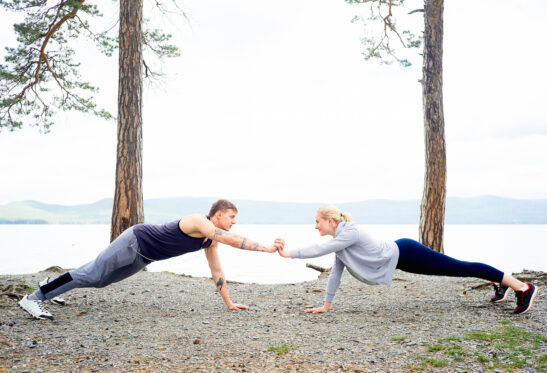
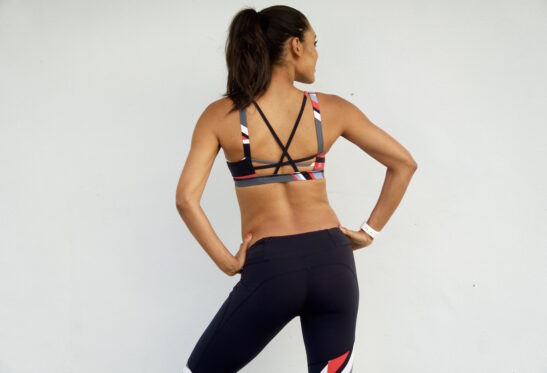
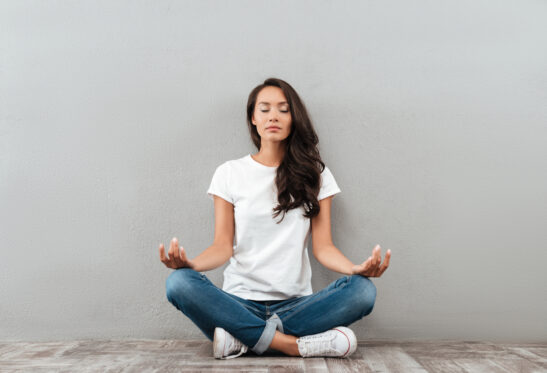
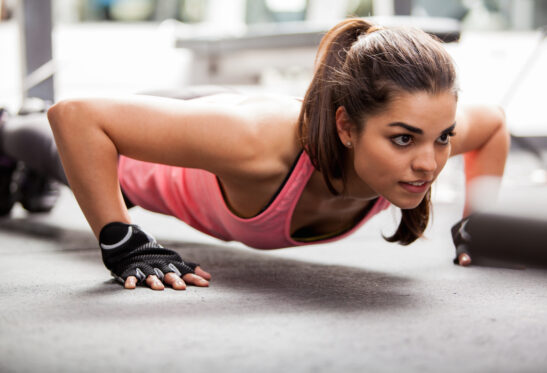
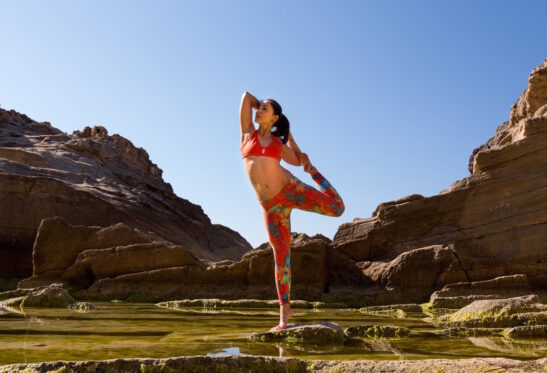
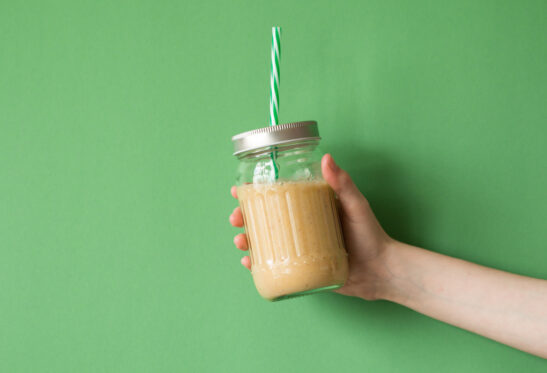
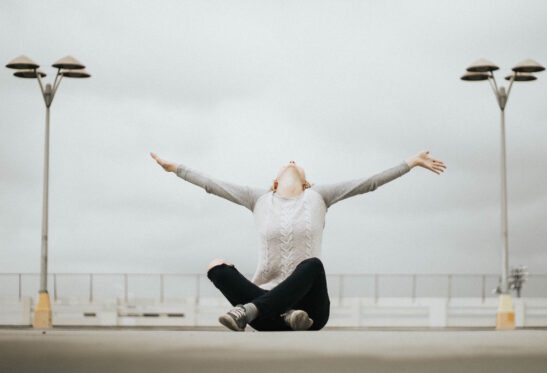
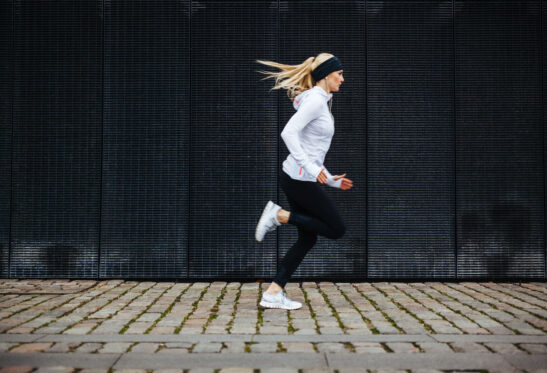
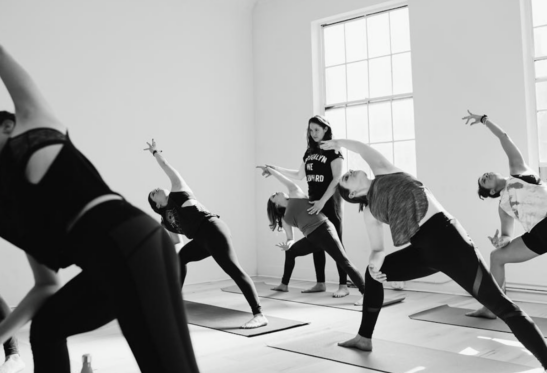
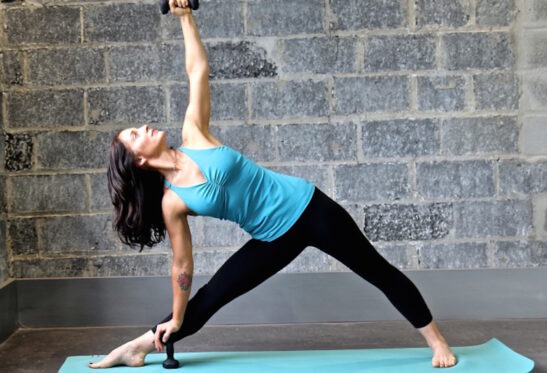
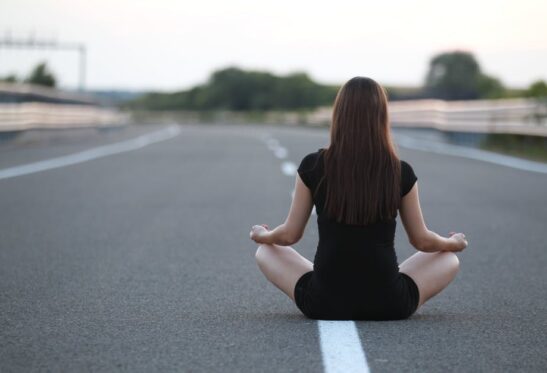
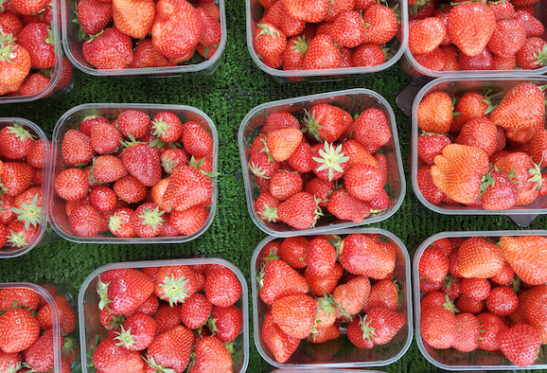
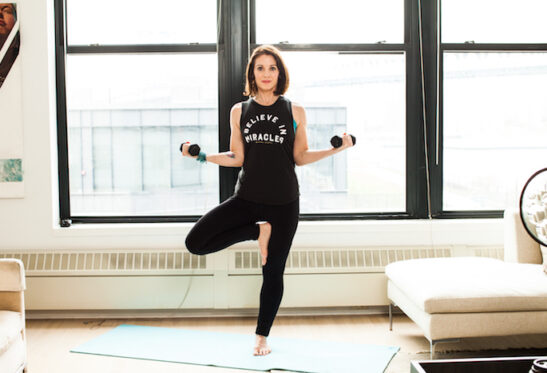
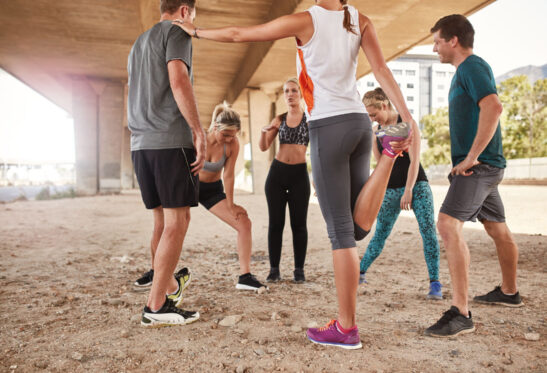
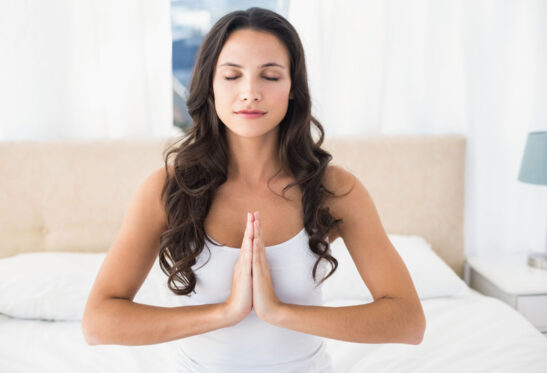
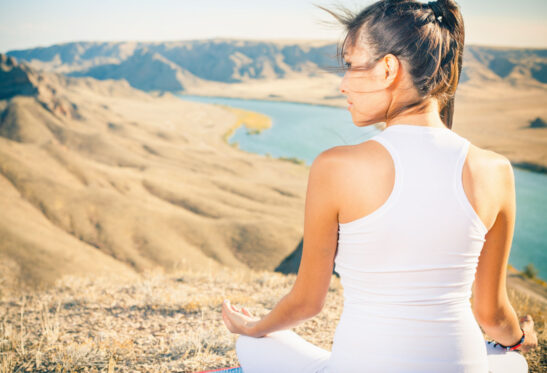
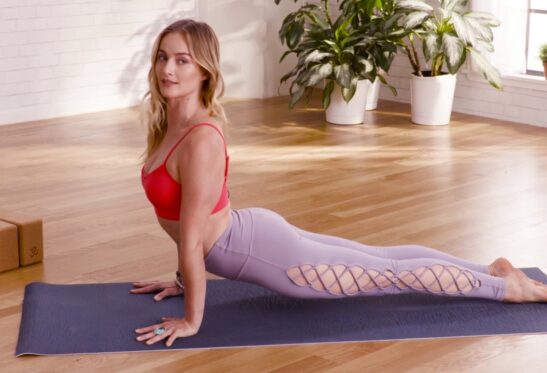
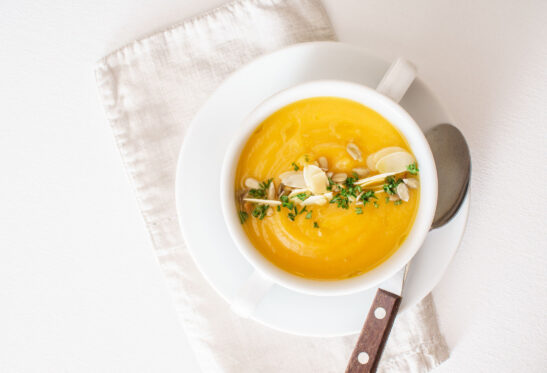
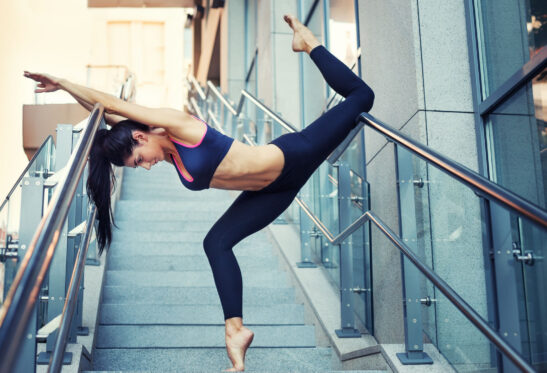
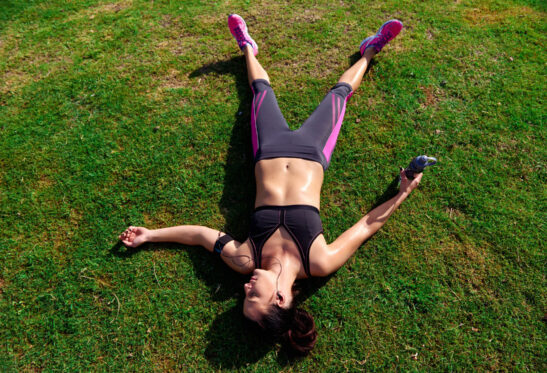
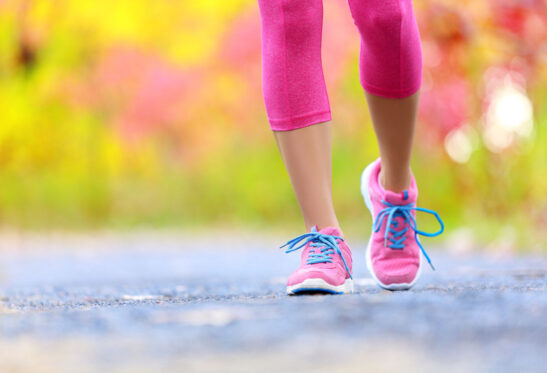
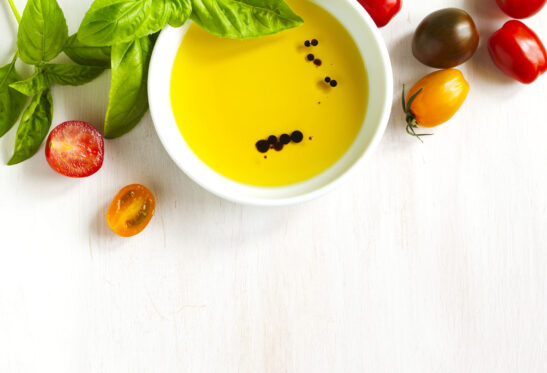
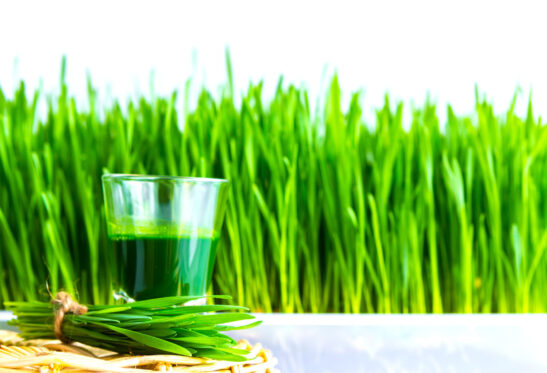
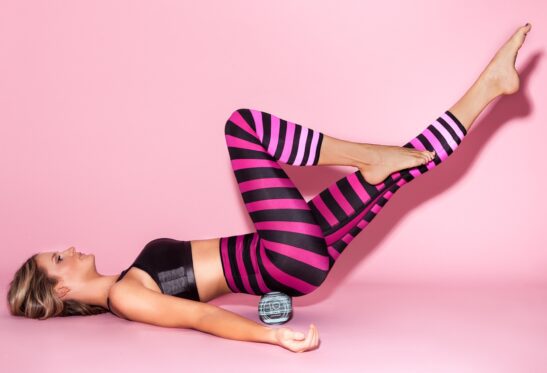
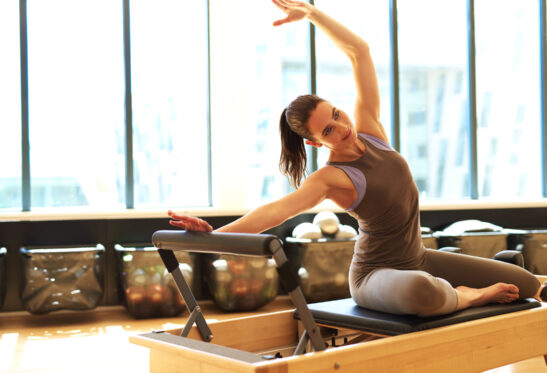
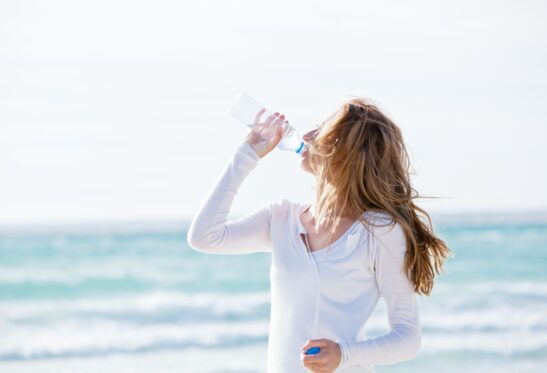
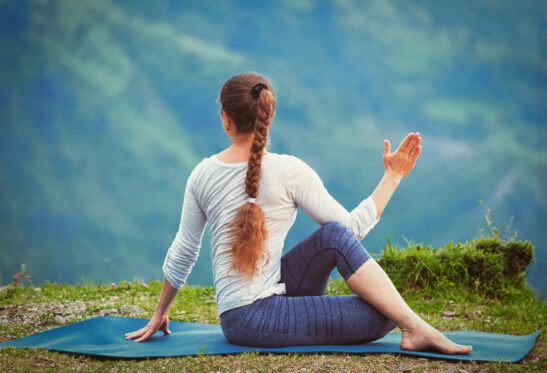
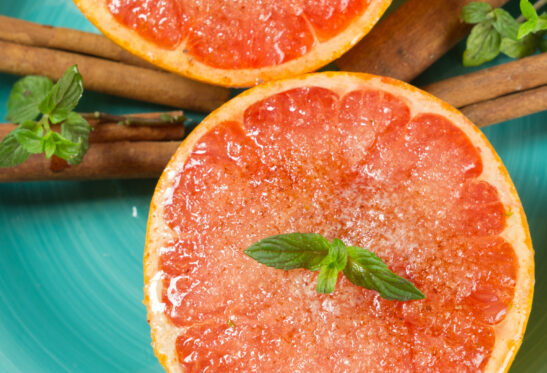
Certain foods or drinks may help relieve bloating, but a more surefire way to soothe your distended belly is to do some simple stretching. Below I have created a stretching sequence that will help reduce any discomfort you may be feeling while also helping to beat the bloat.
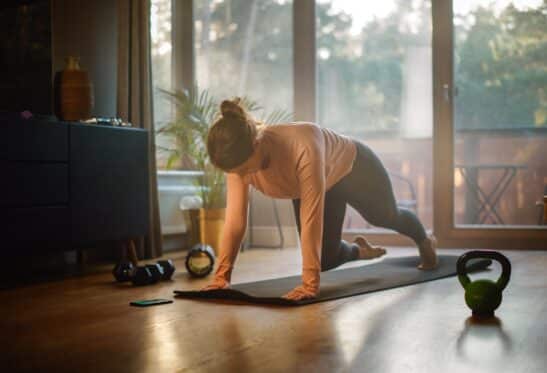
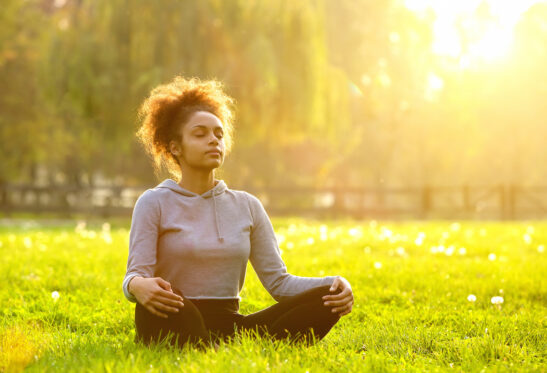
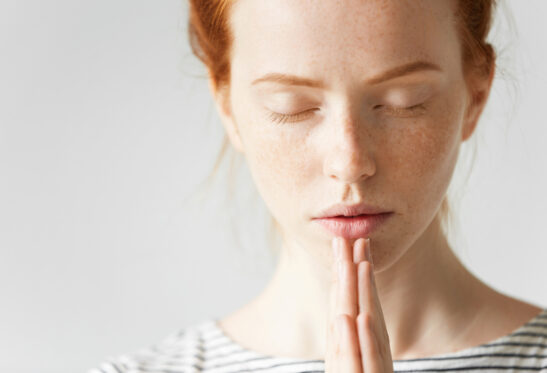
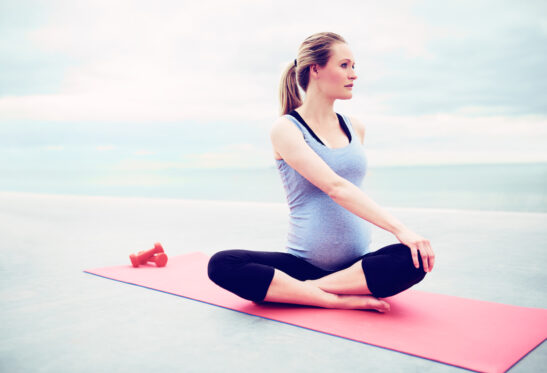
This sequence involves rotational poses to massage and tone your abdomen, as well as restorative poses to help calm your nervous system and support full-body relaxation.
TOP TIP: Remember to inhale and exhale in each position and at the end of the sequence, sit upright and take 5-6 deep breathes to calm and center yourself.
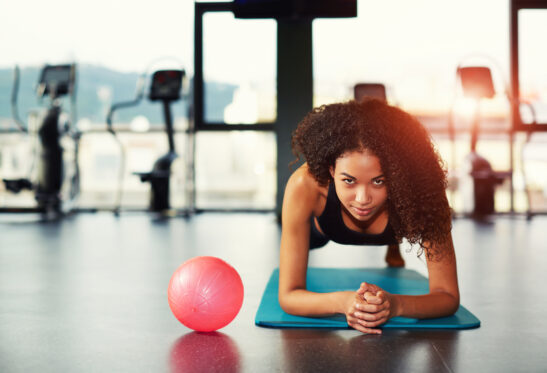
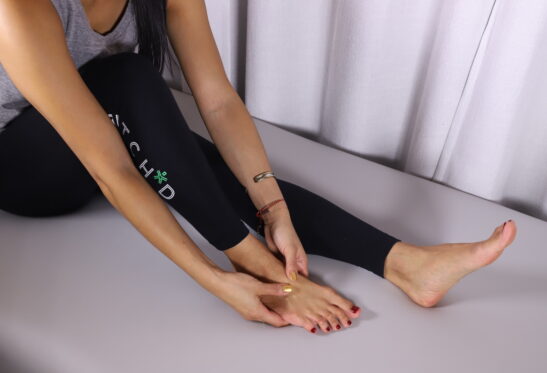
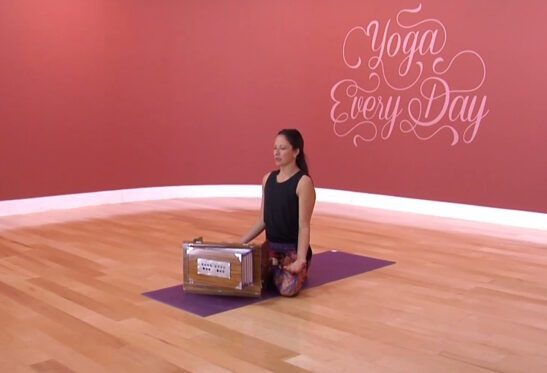
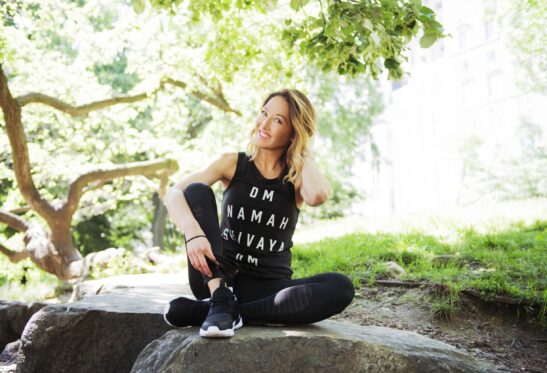
The Sequence
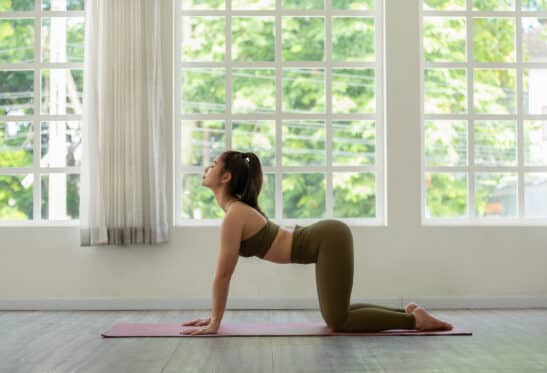
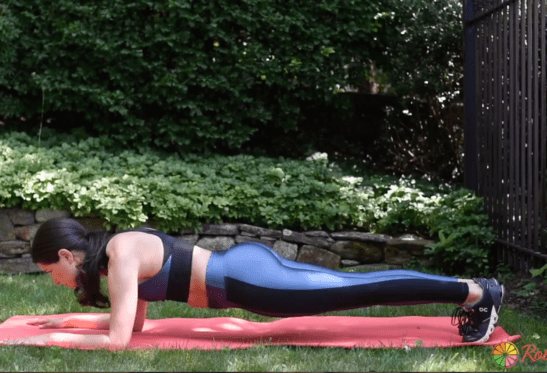
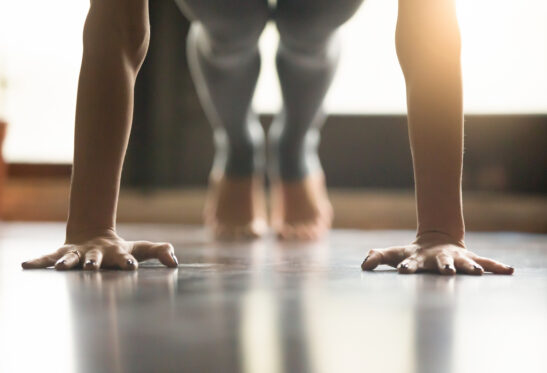
Cat to Cow
How To
- Start on your hands and knees, with your wrists directly underneath your shoulders and your knees directly below your hips.
- Keep your fingers pointing forward with your hands shoulder-width apart.
- Keep your head and neck in a neutral position and gaze down at the floor.
- Exhale, and round your spine up toward the ceiling, drop your head down, draw your abdominals in towards your spine, tuck the pelvis, and keep your shoulders in the same position.
- Make sure to draw your shoulders away from your neck in this position.
- Inhale, uncurl, and start to arch your spine by lifting your chest forward and allowing your sit bones to tilt up towards the ceiling.
- Keep gazing forward, exhale, and repeat 8-10 times.
- Once completed, return to a neutral position on your hands and knees.
Technique Tips
- Try to avoid arching primarily in your lower back and pushing out your ribs when in Cow pose.
- Try to avoid tucking your chin into your chest when in Cat pose.
Perform 8-10 repetitions.
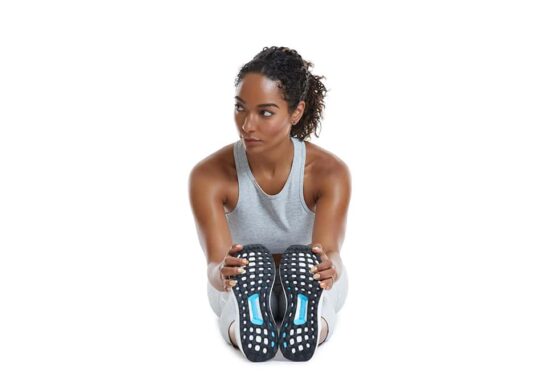
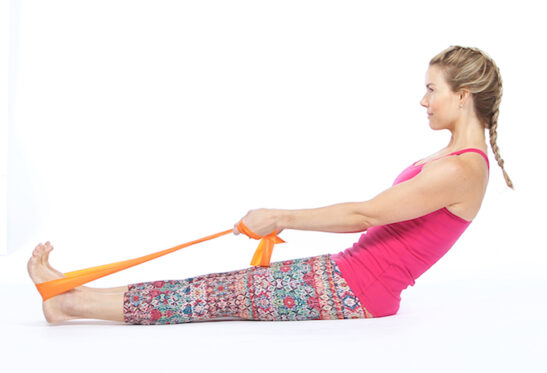
Seated Forward Fold
How To
- Start by sitting upright on your mat, with your legs extended out in front of you, feet flexed and pointing up towards the ceiling.
- Place your hands down by your sides with your fingers facing forward, palms facing down on the mat, with a soft bend in your elbows.
- Rock slightly from side to side to make sure your sit bones are as far away from your heels as possible.
- Contract your thighs so you are pressing the back of your legs into the mat. Keep flexing your feet.
- Inhale, and lift your arms straight up toward the ceiling, feeling your spine lengthen.
- Exhale, and stretch your sternum forward, bending from your hips and bringing your arms with you.
- Keep moving forward slowly, lowering your abdominals to your thighs.
- Grasp the soles of your feet or ankles and keep a soft bend in your elbows.
- With each inhalation, lengthen your spine. With each exhalation, move deeper into the stretch.
Technique Tips
- Make sure to avoid rounding your spine when lowering your sternum forward. If needed, you can place a folded blanket underneath your buttocks to help guide the forward bend from your hips.
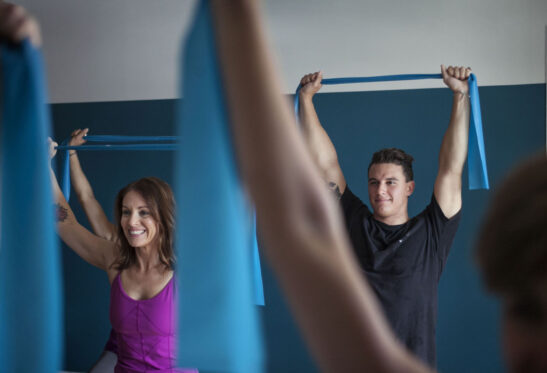
- If your flexibility is limited, please use a yoga strap to help support you in this pose. Place the ends of the yoga strap in each hand and place the middle of the strap against the soles of your feet. Remember to keep tension in the strap and avoid letting it sag.
- Alternatively, you can modify this pose by keeping the right leg straight out in front of you, bending the left knee and drawing the heel towards your groin, with the sole of your foot placed on your right inner thigh. Complete the rest of the movement as is and repeat on the other side.
Hold for 30-45 seconds.
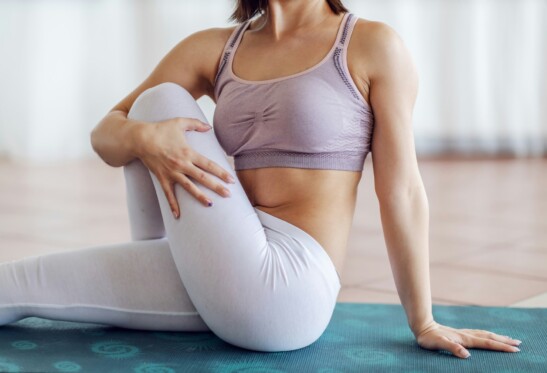
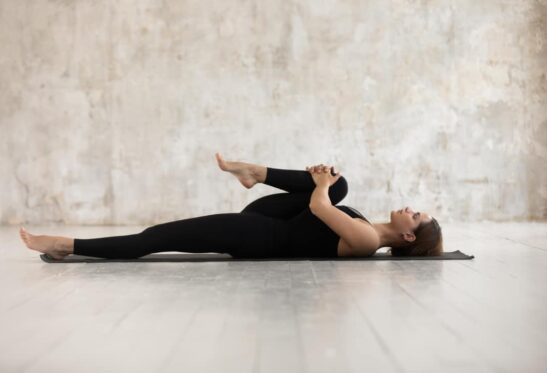
Seated Twist
How To
- Start by sitting upright on your mat, with your legs extended out in front of you, feet flexed and pointing up towards the ceiling.
- Place your hands down by your sides with your fingers facing forward, palms facing down on the mat, with a soft bend in your elbows.
- Bend your right knee and place your right foot over your left leg.
- Your right foot should be flat on the floor outside of your left thigh.
- At the same time, bend your left knee, resting the outside of your left thigh on the floor. Your left heel should be next to your right sit bone.
- Inhale, and lift up through your spine and chest while keeping your shoulders relaxed.
- Exhale and begin twisting to the right. Place your left elbow on the outside of your right knee and bring your right hand on the floor behind your hips.
- Turn your head to the right.
- Twist deeper with each exhalation and keep length in your spine from the bottom up. Think of your head and neck reaching up to the ceiling and your tailbone rooting down toward the floor.
- Repeat on the other side.
Technique Tips
- Try to keep rooting the foot of the raised leg down into the floor and avoid lifting it off.
- Keep space between your shoulders and ears and avoid tensing and elevating the shoulders up.
- Try to avoid rounding your spine when moving deeper into the twist.
Hold for 30-45 seconds.
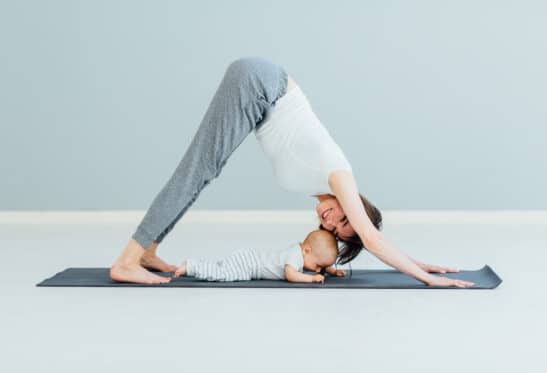
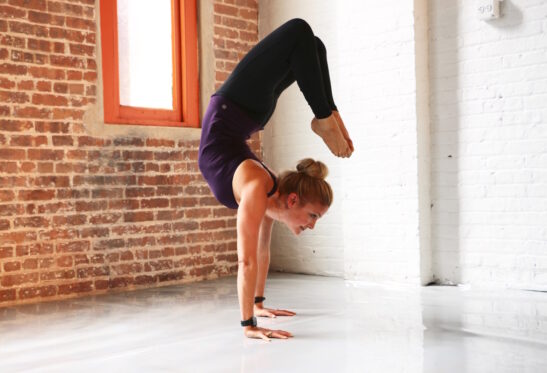
Bow Pose
How To
- Start by lying prone (face down) on your mat. Place your arms by your sides with your palms facing up.
- Place your chin on the floor and exhale as you bend your knees back towards your bottom.
- Reach your arms behind you, grasping the outside of your ankles with your hands.
- Inhale and lift your chest off the floor while simultaneously lifting your thighs, by pulling your ankles up with your hands.
- Make sure to shift your weight onto your abdominals and tuck your tailbone into your pubis.
- Keep your head in a neutral position and make sure you don’t separate your knees wider than the width of your hips.
- Exhale when lowering down and slowly release your hands from your ankles and return to the mat.
Technique Tips
- Avoid holding your breath in this position. Try to take short and controlled breaths to help stimulate digestion.
- Please avoid this pose if you have a back injury.
Hold for 20-30 seconds.
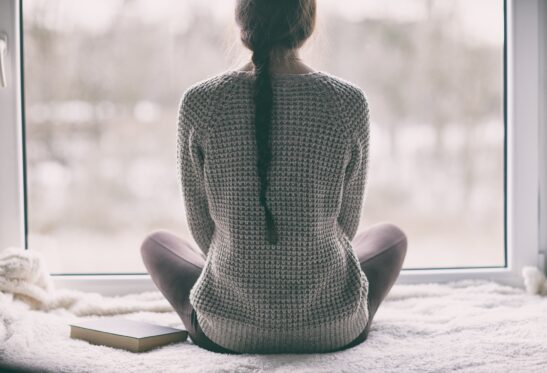
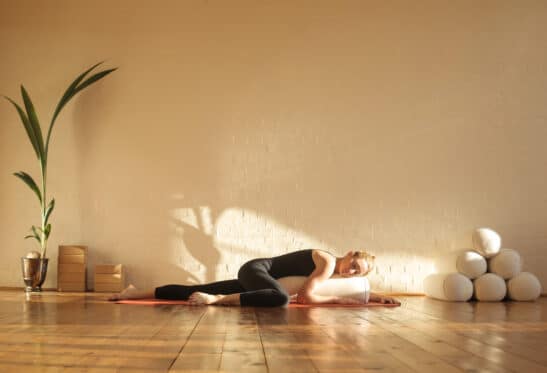
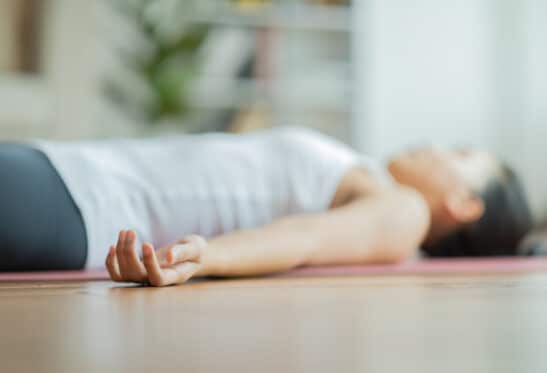
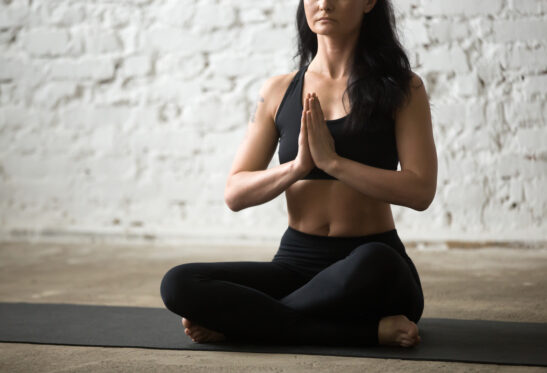
Child’s Pose
How To
- Start by kneeling on the floor with your hips aligned over your knees.
- Bring your knees together so your big toes are touching and slowly lower your body down to rest your buttocks on your heels.
- From there, separate your knees, hip-width apart.
- Exhale and lower your torso down to your inner thighs.
- Elongate your neck and spine and stretch your tailbone down toward the floor.
- Place your arms down by your sides, with the backs of your hands on the floor.
- Allow your shoulders to relax toward the floor, bringing space across your upper back.
- Place your forehead on the floor.
Technique Tips
- Inhale into the back of your rib cage when in position and try to keep a dome shape or rounding in your back.
- Avoid compressing the back of your neck when in the Child’s pose position. Think of keeping the neck lengthened while your forehead is down on the mat.
Hold for 30-45 seconds.
Repeat the whole sequence 2-3 times.
Image: Shutterstock

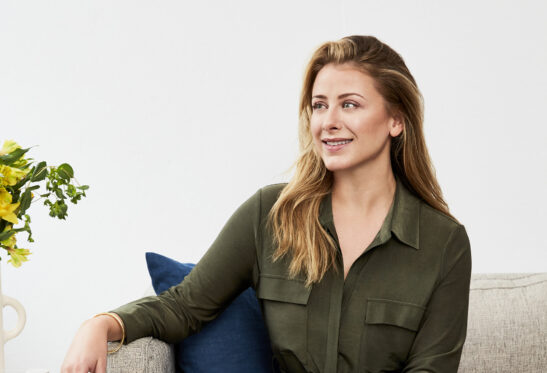
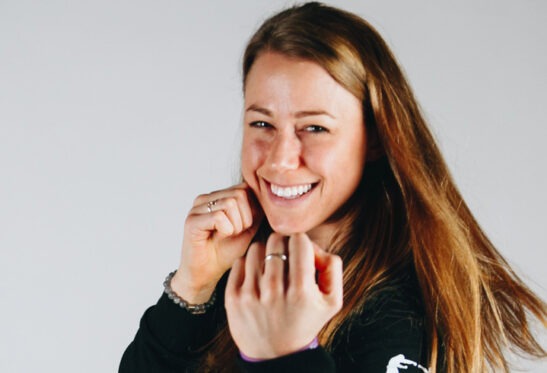
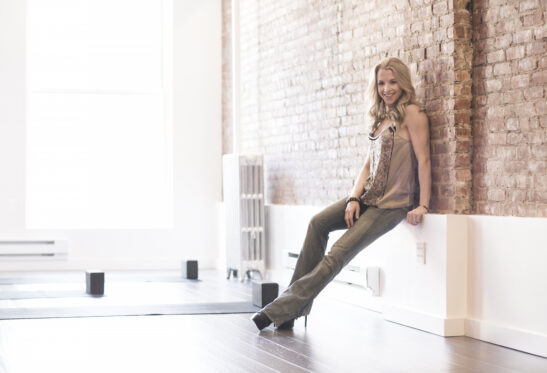
Hayley Baker - Holistic Recovery Specialist
DISCOVER MORE

RECENT ARTICLES


Want a sneak peek inside the program?
Get FREE access to some of the core training materials that make up our signature program – Become a Nutrition Coach.
Get Access